The Complete Event Photography Setup Guide
Set up your DSLR photo booth or roaming photography right. Cameras, lenses, lighting, printers & software, complete event photography setup guide.

June 18, 2026
The Snappic team is passionate about creating unforgettable photo booth experiences.
The Complete Event Photography Setup Guide: Cameras, Gear, and Instant Sharing Software
Whether you’re a photo booth operator looking to add roaming photography or an event photographer wanting to deliver photos instantly, the right setup can dramatically increase the value you offer clients.
This guide covers the equipment, iOS devices, workflow, and software needed to run a modern roaming photography experience with DSLR-quality images and instant sharing.
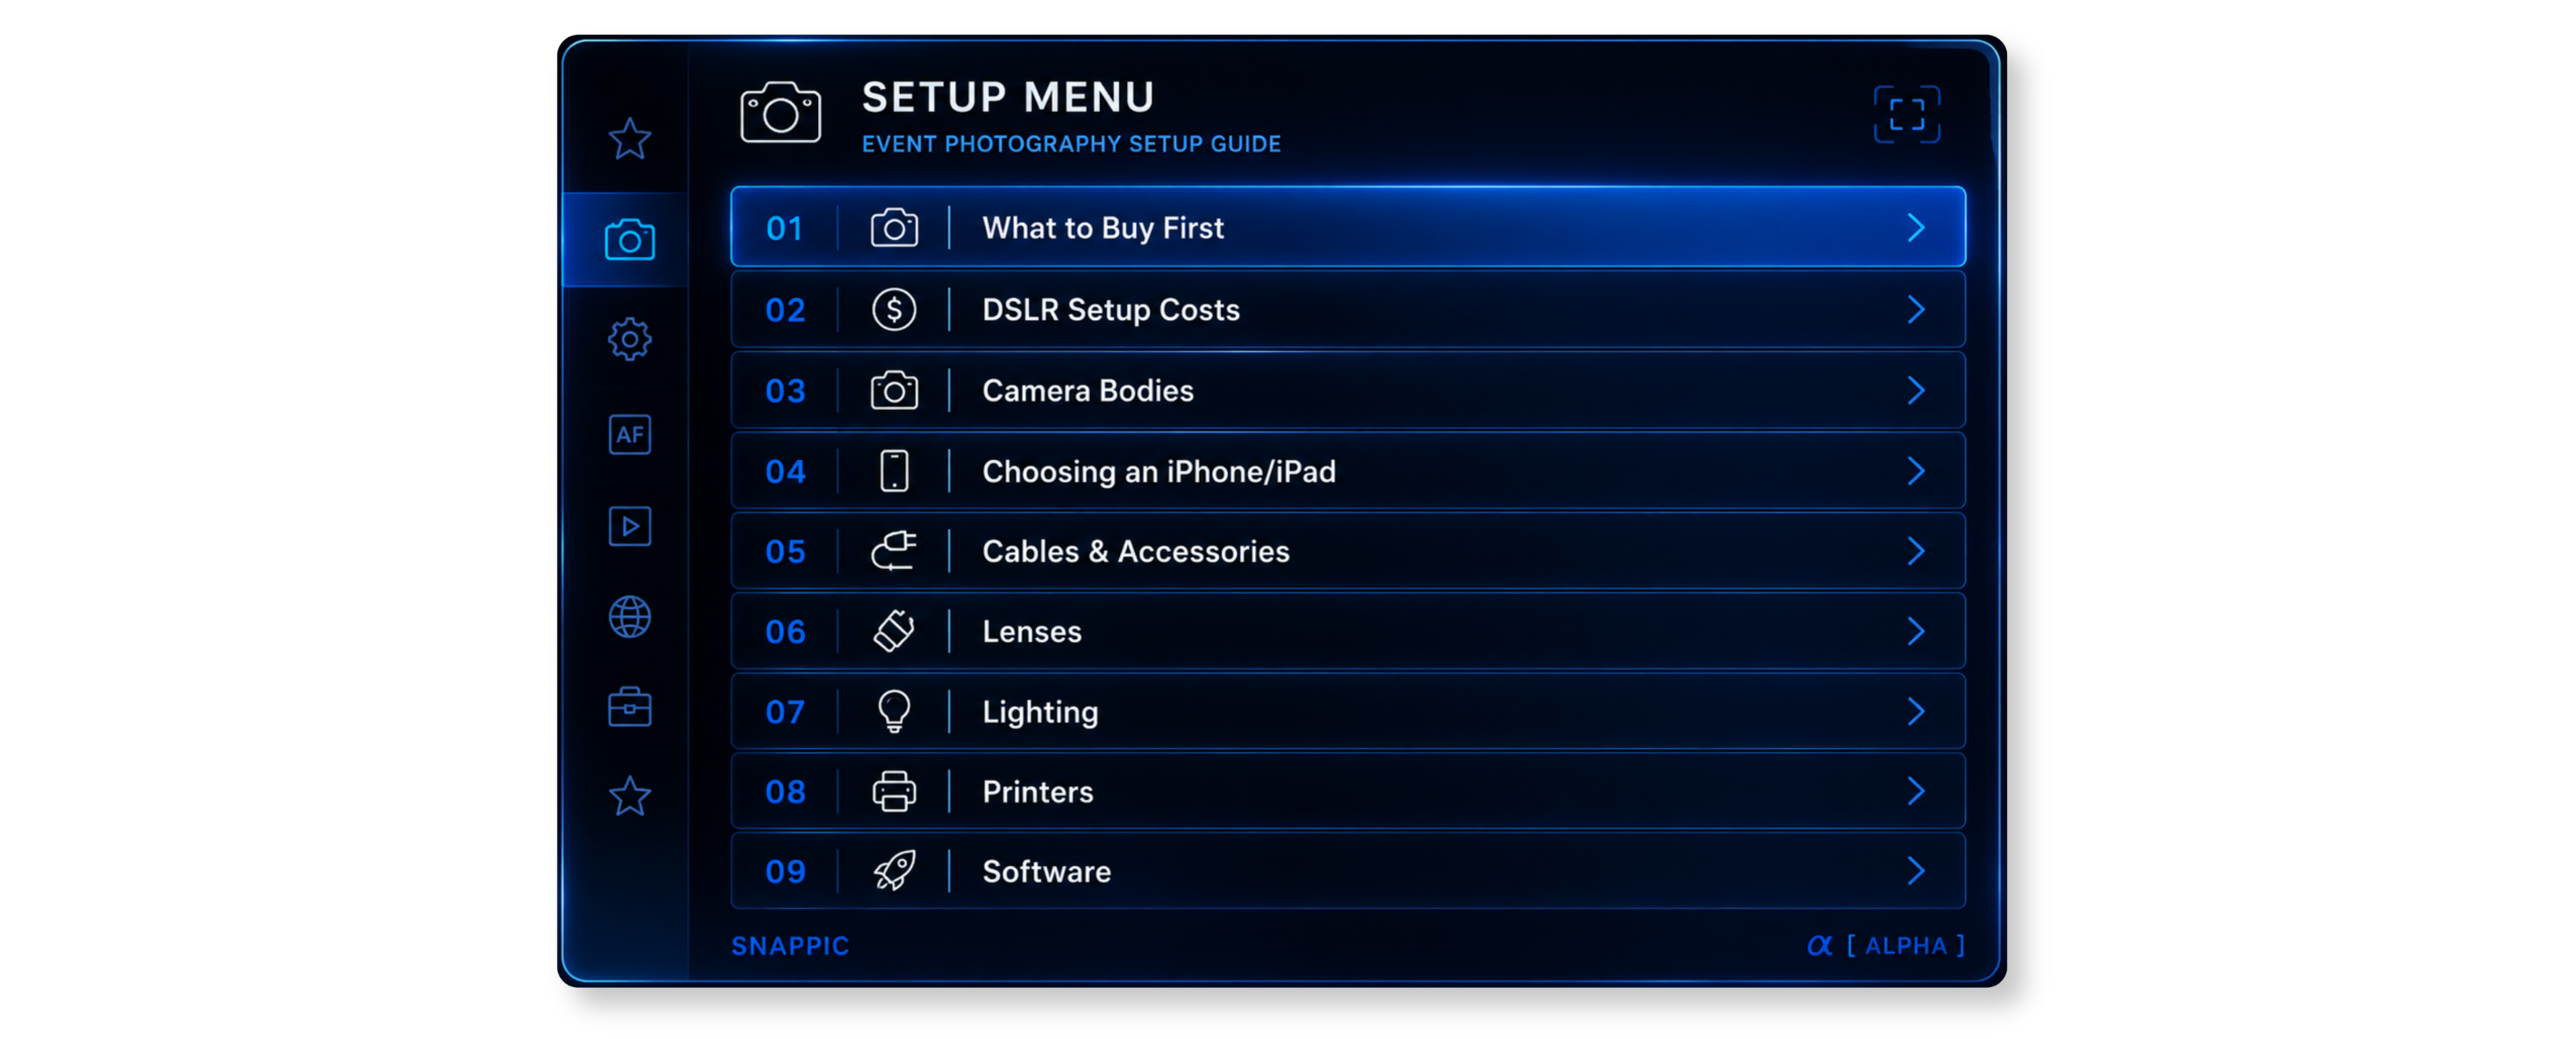
What to Buy First: A Priority Order
If budget is limited, here's the sequence that makes the most sense.
Most gear mistakes come from buying things in the wrong order. Here's a practical sequence for booth owners adding a DSLR:
- Buy first: Camera body (pre-owned is fine) + a solid prime lens. This is your capture quality foundation.
- Buy second: An iOS device if you don't already have one in your gear list. An iPhone 8 or later, or an iPad Air 2 or later, running iOS 15 or higher. If you already own a compatible iPhone or iPad, you're covered.
- Buy third: Snappic. Your go-to app for connecting the camera to the guest experience. Get the app installed, set up your first event, and familiarize yourself with the interface before your first DSLR event. Without the software, you have a camera and a phone, not a roaming photography setup.
- Buy fourth: The right cable and adapter for your iOS device. Ensure that you test the tethered connection before your first DSLR event. Buy an extra cable in case. Do not discover a cable problem on site.
- Buy fifth: A flash or continuous lighting such as a camera mounted LED with a diffuser. At least one good light source attached via a hot shoe to your DSLR, will improve your photos more than a camera upgrade would.
- Buy last: Printer (if you don't already have one from your booth setup). Start with the Hiti P310W if budget is tight. Upgrade to the DNP DS620A as soon as your first few events justify it.
What Can Wait:
- Off-camera flash (until you're comfortable with exposure and have run several DSLR events)
- A second camera body (having a backup is smart, but not on day one)
- Pro-level lenses (the Canon 50mm f/1.8, or comparable from Sony or Nikon, will serve you well longer than you'd expect)
- A dedicated roaming strap system (test with what you have first; upgrade once you know your preferred workflow)
What a Full DSLR Setup Actually Costs
A realistic look at what to spend at three stages: so you can invest smart and based on where your business is right now.
The honest answer to "how much do I need to spend?" is: less than the premium gear lists might suggest, but more than the cheapest bundle you've come across on Facebook Marketplace.
Most successful operators think about this as a progression, not a single purchase. Here's how most successful operators think about it:
Start Small (~$1,250–$1,800)
This is your proof-of-concept setup. A pre-owned DSLR body, a solid prime lens, a continuous LED light, your existing iOS device, and Snappic. This lets you offer DSLR-quality capture at your next event and test whether roaming photography or an upgraded booth output is the best revenue path for your market.
Mid-Tier (~$3,000–$4000)
This is where most operators settle in. You've tested the DSLR workflow at a handful of events, you know your market, and you're ready to invest in gear that matches what clients are increasingly expecting. Think sharper images, more reliable printing, and lighting that doesn't require fifteen minutes of fussing on setup.
Pro on the Go (~$6,500–$9,000)
At this level, you're investing in gear that supports premium rates, corporate clients, and a setup that runs reliably under pressure. These aren't starter purchases; they're upgrades you earn into.
Component
| Starter Setup
| Mid-Tier Setup | Pro Setup
|
Camera Body
| Canon M50 II / R100 (~$450-$650 pre-owned)
| Canon R7 / R10, Nikon Z50 II (~$700-$1,300)
| Sony A7 IV / Canon R6 Mark II (~$2,200-$2,800)
|
Lens
| Kit lens: 18-55mm or 16-50mm (included with body)
| Canon RF 18-150mm / Sigma 18-35mm f/1.8 (~$400-$900)
| Canon 24-105mm f/4L / Sony 35mm f/1.4 GM (~$1,000-$1,500)
|
Lighting
| Godox SL60W or single LED panel (~$80-$120)
| 2x Godox SL150W or Aputure Amaran 200x (~$300-$500)
| 2x Aputure 300D II + softboxes (~$1,200-$1,800)
|
Flash Option
| Godox TT685 on-camera flash (~$80)
| Godox MS300 or AD200Pro (~$100-$300)
| Profoto B10 Plus (~$1,500+)
|
Printer
| Hiti P310W (~$350-$450)
| DNP DS620A (~$750-$900)
| DNP DS820A / Mitsubishi CP-D90DW (~$1,400-$1,800)
|
iOS Device
| iPhone 8+ or iPad Air 2+ (from ~$150 pre-owned)
| iPad Pro 9.7+ or iPhone 11+ (~$250-$500)
| iPad Pro 11 (2020+) (~$500-$800)
|
Software
| Snappic Pro Photographer (all DSLR + roaming features) at $89 monthly
| Snappic Pro Photographer (all DSLR + roaming features) at $89 monthly
| Snappic Pro Photographer (all DSLR + roaming features) at $89 monthly
|
Approx. Total
| $1,100-$1,600
| $2,800-$4,200
| $6,500-$9,000
|
Events to ROI (Dependant on event charges)
| 2-4 events
| 3-5 events
| 4-8 events
|
All pricing estimates based on 2026 market averages. Pre-owned gear options can help reduce costs by 20–35%.
Camera Bodies: Where to Start, When to Upgrade
The right camera at each price point, and why brand matters less than you think.
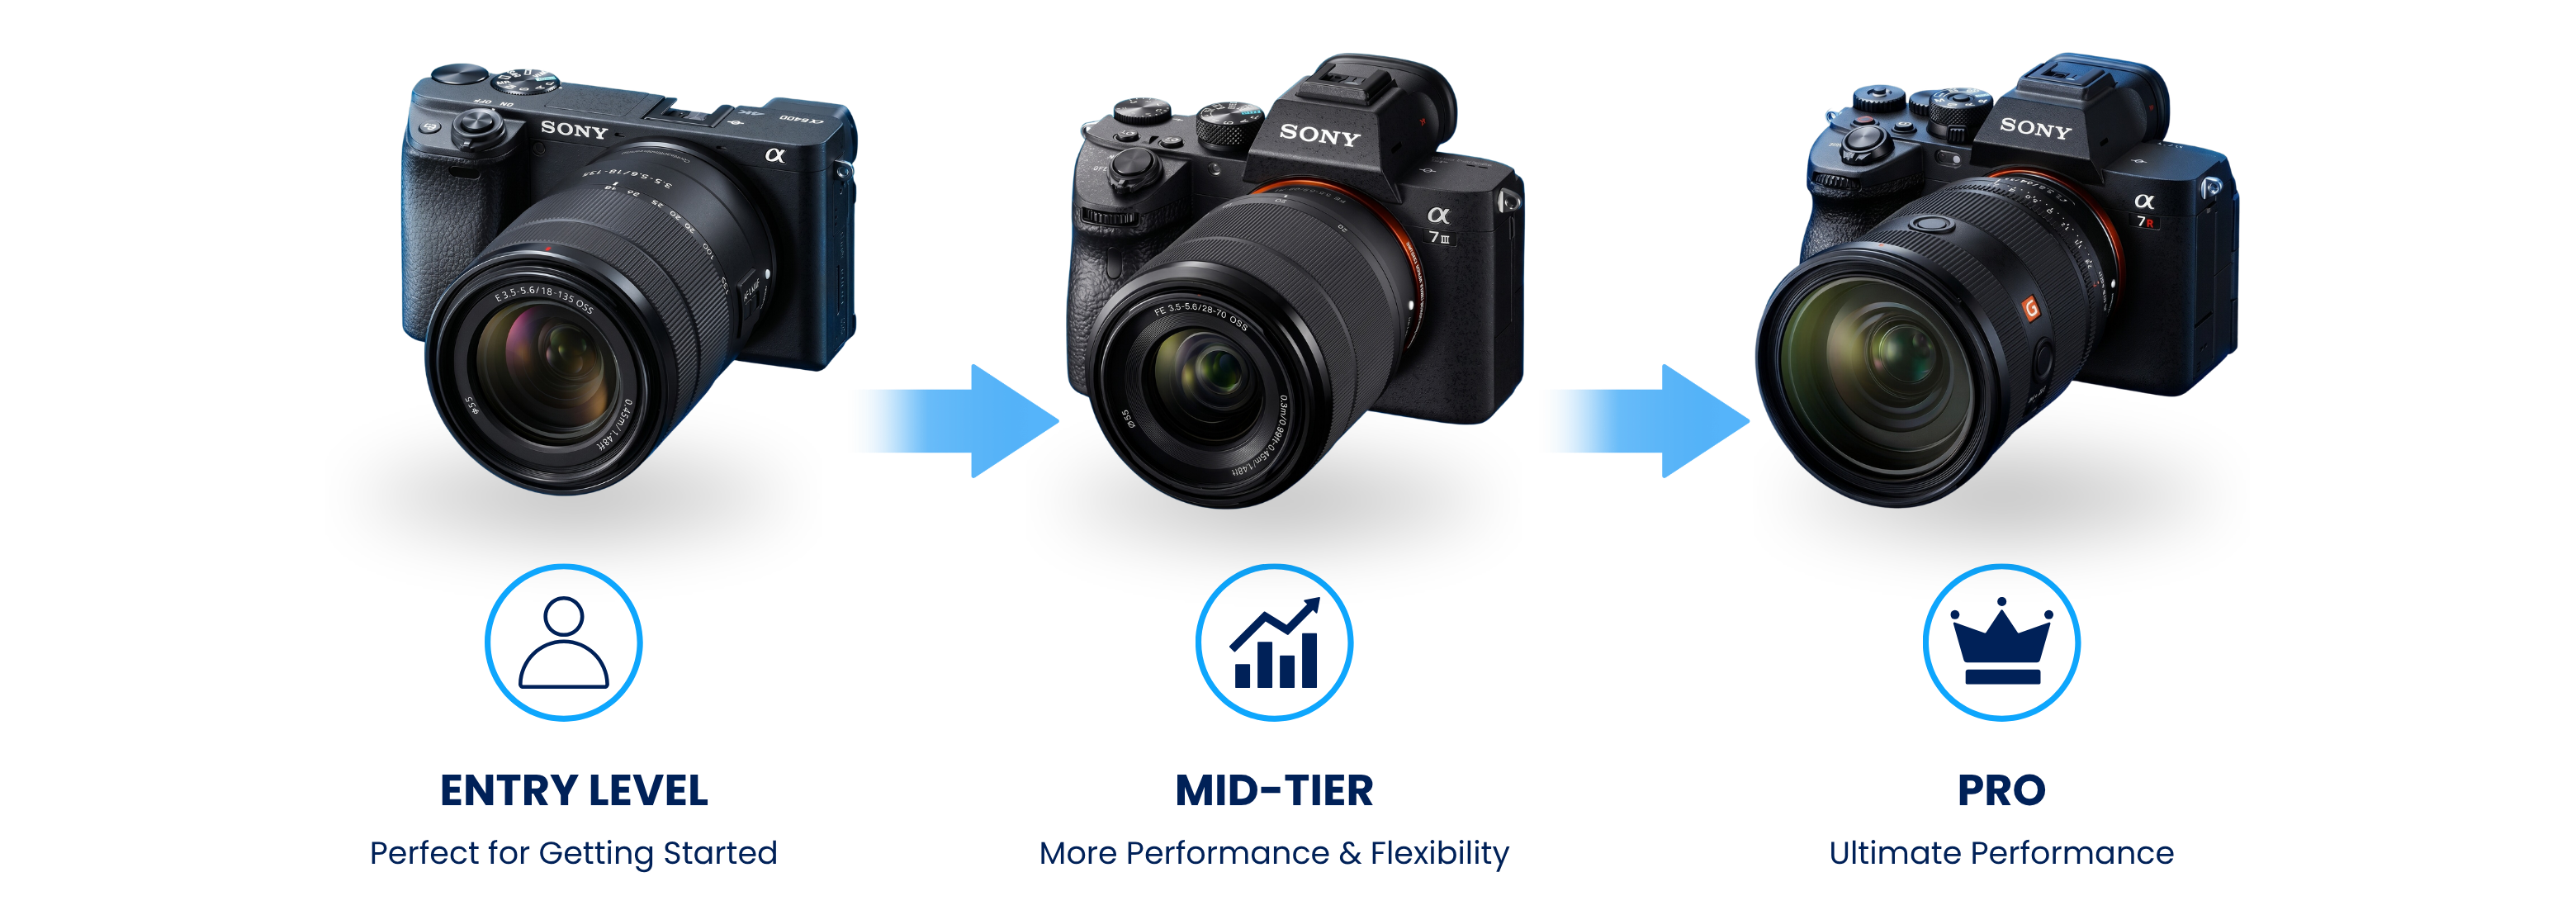
For photo booth and roaming work, almost any mid-range DSLR from the last five years will do the job well. You don't need the latest camera body. You need the right lens, good light, and software that knows what to do with the signal.
A note on older DSLR models: Older mirrored DSLRs (like the Canon EOS Rebel SL3, Nikon D3600, or D5600) work with Snappic for still photo capture and are a cost-effective way to get started. However, due to the mechanical mirror, these bodies cannot capture video or fire a flash through Snappic. If you need full photo and video functionality, a mirrorless body might be the better choice.
Starter Options:
Canon
- Canon M50 Mark II (~$500-$650 pre-owned): A mirrorless option, widely used across the photo booth industry, and fully compatible with Snappic for both photo and video capturing. A reliable first camera for operators who want full functionality from day one.
- Canon R100 (~$450-$550): Canon's entry-level RF-mount mirrorless body. Lightweight, affordable, and fully functional in Snappic for photo and video capture.
- Canon EOS Rebel SL3 / 250D (~$350-$450 pre-owned): A cost-effective option for operators who only need still photo capture. Note: limited functionality due to the mechanical mirror (no video, no flash firing through Snappic).
Nikon
- Nikon D3600 or D5600 (~$350-$450 pre-owned): Produces exceptional image quality at this price point for still photo capture. Note: these are older mirrored models with limited functionality in Snappic (no video, no flash firing). However, it offers a good budget entry point if you only need photos.
Sony
Sony only manufactures mirrorless cameras, so all Sony options provide full functionality. Video support for Sony has been updated in Snappic.
- Sony α6100 / α6300 / α6400 (~$400-$600): Strong APS-C mirrorless options with solid autofocus. The α6100 is the most affordable entry; the α6400 adds improved autofocus tracking.
Mid-Tier Options:
- Canon R7 (~$1,100-$1,300): Canon's APS-C mirrorless workhorse. Fast autofocus, strong low-light performance, and full photo and video support in Snappic. The go-to upgrade for Canon operators.
- Canon R10 (~$700-$900): A more affordable RF-mount mirrorless step-up from the M50 or R100. Lighter than the R7 with similar core functionality.
- Nikon Z50 II (~$800-$1,000): Nikon's mirrorless mid-tier option. Full photo and video functionality without the limitations of older mirrored bodies.
- Nikon D7500 (~$700-$900 pre-owned): A capable body at a slightly lower price point, but note the same limited-functionality as other mirrored Nikon models (no video, no flash firing through Snappic).
- Sony α7 III (~$1,600-$1,800 pre-owned): This is the entry point to full-frame Sony. It offers a meaningful step up from the APS-C starters.
Pro Options:
- Canon EOS R6 Mark II (~$2,400–$2,600): The mirrorless body, serious Canon operators upgrade to. It's fast, sharp, and future-proof.
- Sony α7 IV (~$2,200–$2,500): An exceptional camera for operators who want a unified mirrorless ecosystem. Plus, it pairs brilliantly with Sony's GM lens line-up.
A note on compatibility: Snappic supports Canon, Nikon, and Sony DSLRs natively. So whichever body you start with, you won't be locked out of features as you grow.
Full DSLR compatibility list - Snappic Help Center
Your iOS Device: The iPhone or iPad That Runs the Show
Snappic runs on iOS. Here's what device you need and how to choose between iPhone and iPad for DSLR work.
Your DSLR connects to Snappic via an iPhone or iPad. The iOS device is where the app runs, where settings are controlled, where the live preview appears, and where guests interact with the sharing screen. It's not optional or secondary; it's a core piece of the setup.
Minimum Requirements
- iPad Air 2 or later, or iPhone 8 or later
- iOS 15.0 or higher (required for DSLR tethering)
- Minimum 64GB storage for photo work; 128GB or more if you plan to run video or slow-motion
Recommended Devices
For booth setups (where the iPad stays mounted in your enclosure): iPad Pro 9.7 or later. These have the processing power to handle live preview, AI effects, and print queuing without significant lag.
For roaming photography (where you're moving through a venue with the device in hand): iPhone 8 or later, or iPad Pro 11 (2020) or later. The smaller form factor of an iPhone makes roaming far more practical.
For 360 booths and video: iPad Pro 11 (2020) or later, iPhone 11 or later. Slow-motion recording at 120fps requires newer hardware with high frame rate support.
iPhone vs iPad for Roaming
If you're considering adding roaming photography to your offerings, an iPhone is almost always the better choice. It's lighter, easier to hold alongside a DSLR, and fits naturally with a wrist strap or belt clip. An iPad works well when it's mounted in a booth, but carrying one through a venue while managing a camera can quickly become awkward.
Full supported devices list - Snappic Help Centre
Connection Accessories: Cables and Adapters
The small items that hold your DSLR-to-Snappic setup together at a live event.
Getting the DSLR signal into Snappic requires a physical USB connection between the camera and your iOS device. Depending on your device and whether you need to charge simultaneously, you may require the use of an adapter.
For Lightning Port Devices (older iPads and iPhones)
- Apple Lightning to USB 3 Camera Adapter (~$39): This is the recommended adapter. It has a USB-A port for the camera cable and a Lightning port for simultaneous charging. The standard Lightning to USB adapter (without the charging port) works but means your device may drain during an event.
For USB-C Port Devices (newer iPads and iPhones)
- Direct USB-C cable: If your camera has a USB-C port and you don't need to charge the iOS device during the event, a single USB-C to USB-C cable is all you need.
- Apple USB-C Digital AV Multiport Adapter (~$69): Allows simultaneous camera connection and charging. Any USB-C hub with Power Delivery will also work. The Hyperdrive 6-in-1 Hub has been tested by the Snappic team and works effectively.
Camera Cables
- Many older Canon and Nikon DSLRs use a Mini USB or Micro USB output. You'll need a USB-A to Mini/Micro USB cable to connect to the adapter.
- Newer mirrorless models (Canon R-series, Nikon Z-series and most Sony bodies) are fitted with USB-C directly on the camera body, which means you can often run a single USB-C to USB-C cable without needing any adapter at all.
- Sony cameras vary by model. Check your camera's port and get the appropriate cable. Carry a spare; cables are the most common point of failure at events.
Keeping It All Together: Straps, Mounts & Practical Accessories
For roaming setups especially, how you carry the device matters as much as which device you choose.
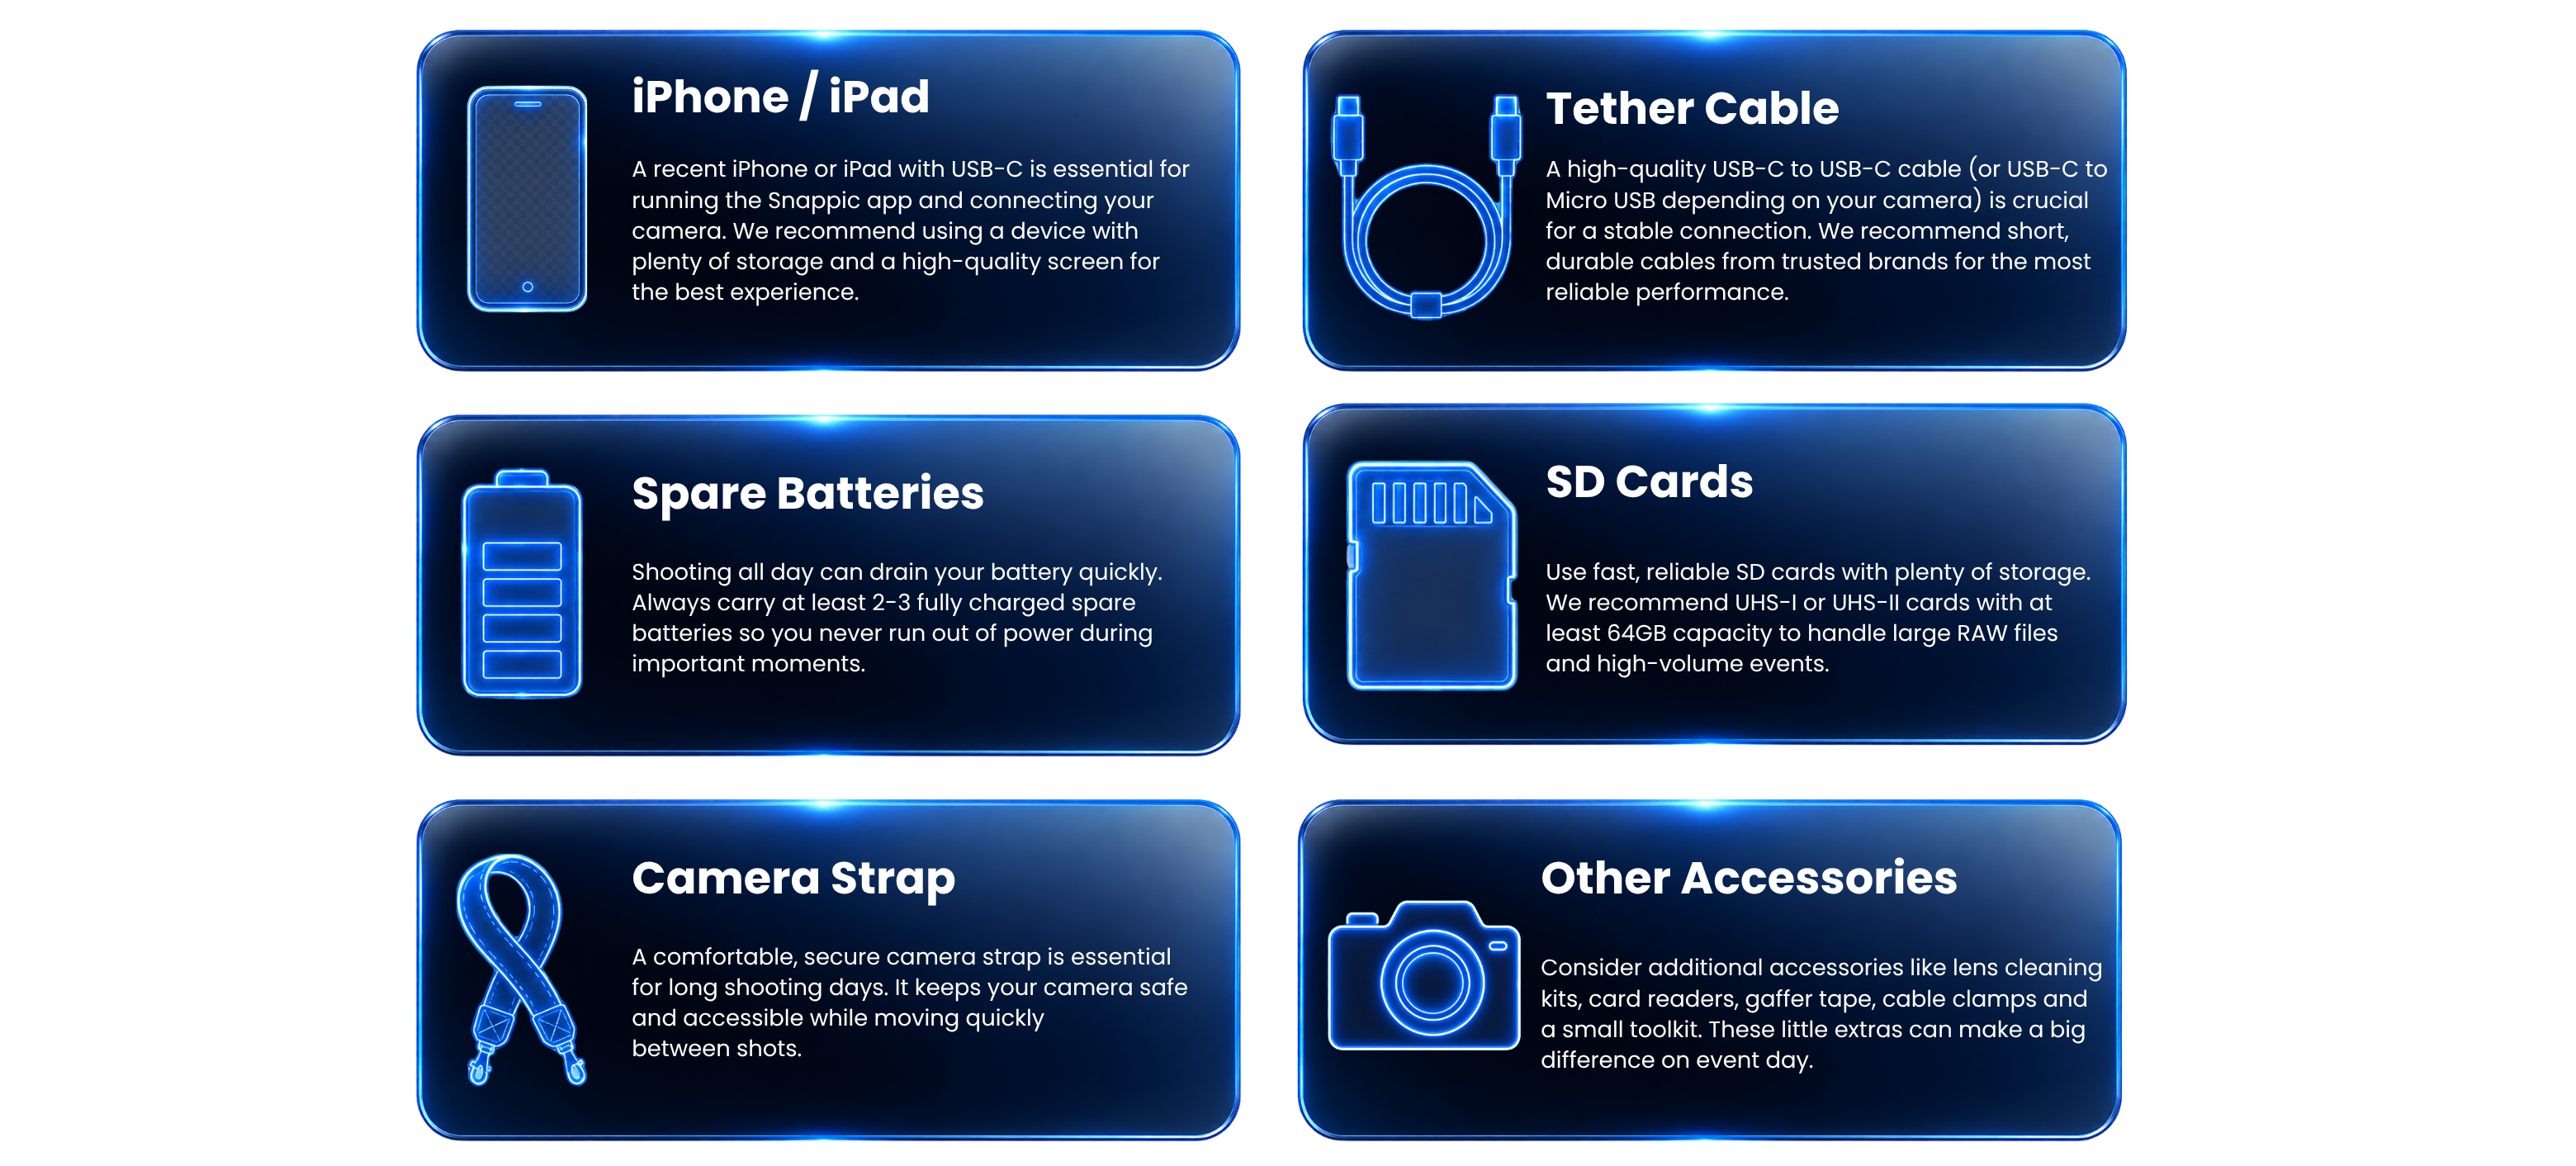
- Phone wristband holder for iPhone: A grip holder that wraps around the back of the phone and secures it to your palm, ensuring the device remains stable while shooting and is easy to hand to event guests for photo selection. The VUP Wristband Phone Holder is a great option.
- Lanyard or shoulder strap for iPad: If you're roaming with an iPad (less common, but some event or roaming photographers prefer the larger preview screen), a shoulder-mount case or lanyard keeps both hands free for the camera. The ProCase Rugged Heavy Duty case with wrist/shoulder strap ensures just that and is a good choice.
- Belt clip or holster: For photographers who want the phone completely out of the way between shots, a belt-mounted phone case is a practical alternative to a wrist strap. The Spider Holster SpiderX Belt Clip is compact, secure, and designed for quick-draw access, and is practical alternative.
- DSLR extension bracket with phone mount: An aluminum cold shoe extension bracket combined with a phone clamp lets you mount the iOS device directly to your camera body. This keeps everything in one rig: camera, phone, and cable all move together. It's increasingly becoming a popular choice among operators who want a single-handed roaming setup without juggling separate devices. The UTEBIT Flash Bracket Extenson Bar is a solid, and affordable option.
- Spare batteries and a power bank: DSLRs in tethered live view drain batteries faster than normal. Carry at least one spare camera battery and a power bank for the iOS device if you're not using a hub with charging.
- SD card (formatted, write-enabled): Must be present in the camera for Snappic tethering to work. Format it before every event.
Lenses: The Investment Most Beginners Underestimate
Why your lens matters more than your camera body, and what to prioritize.
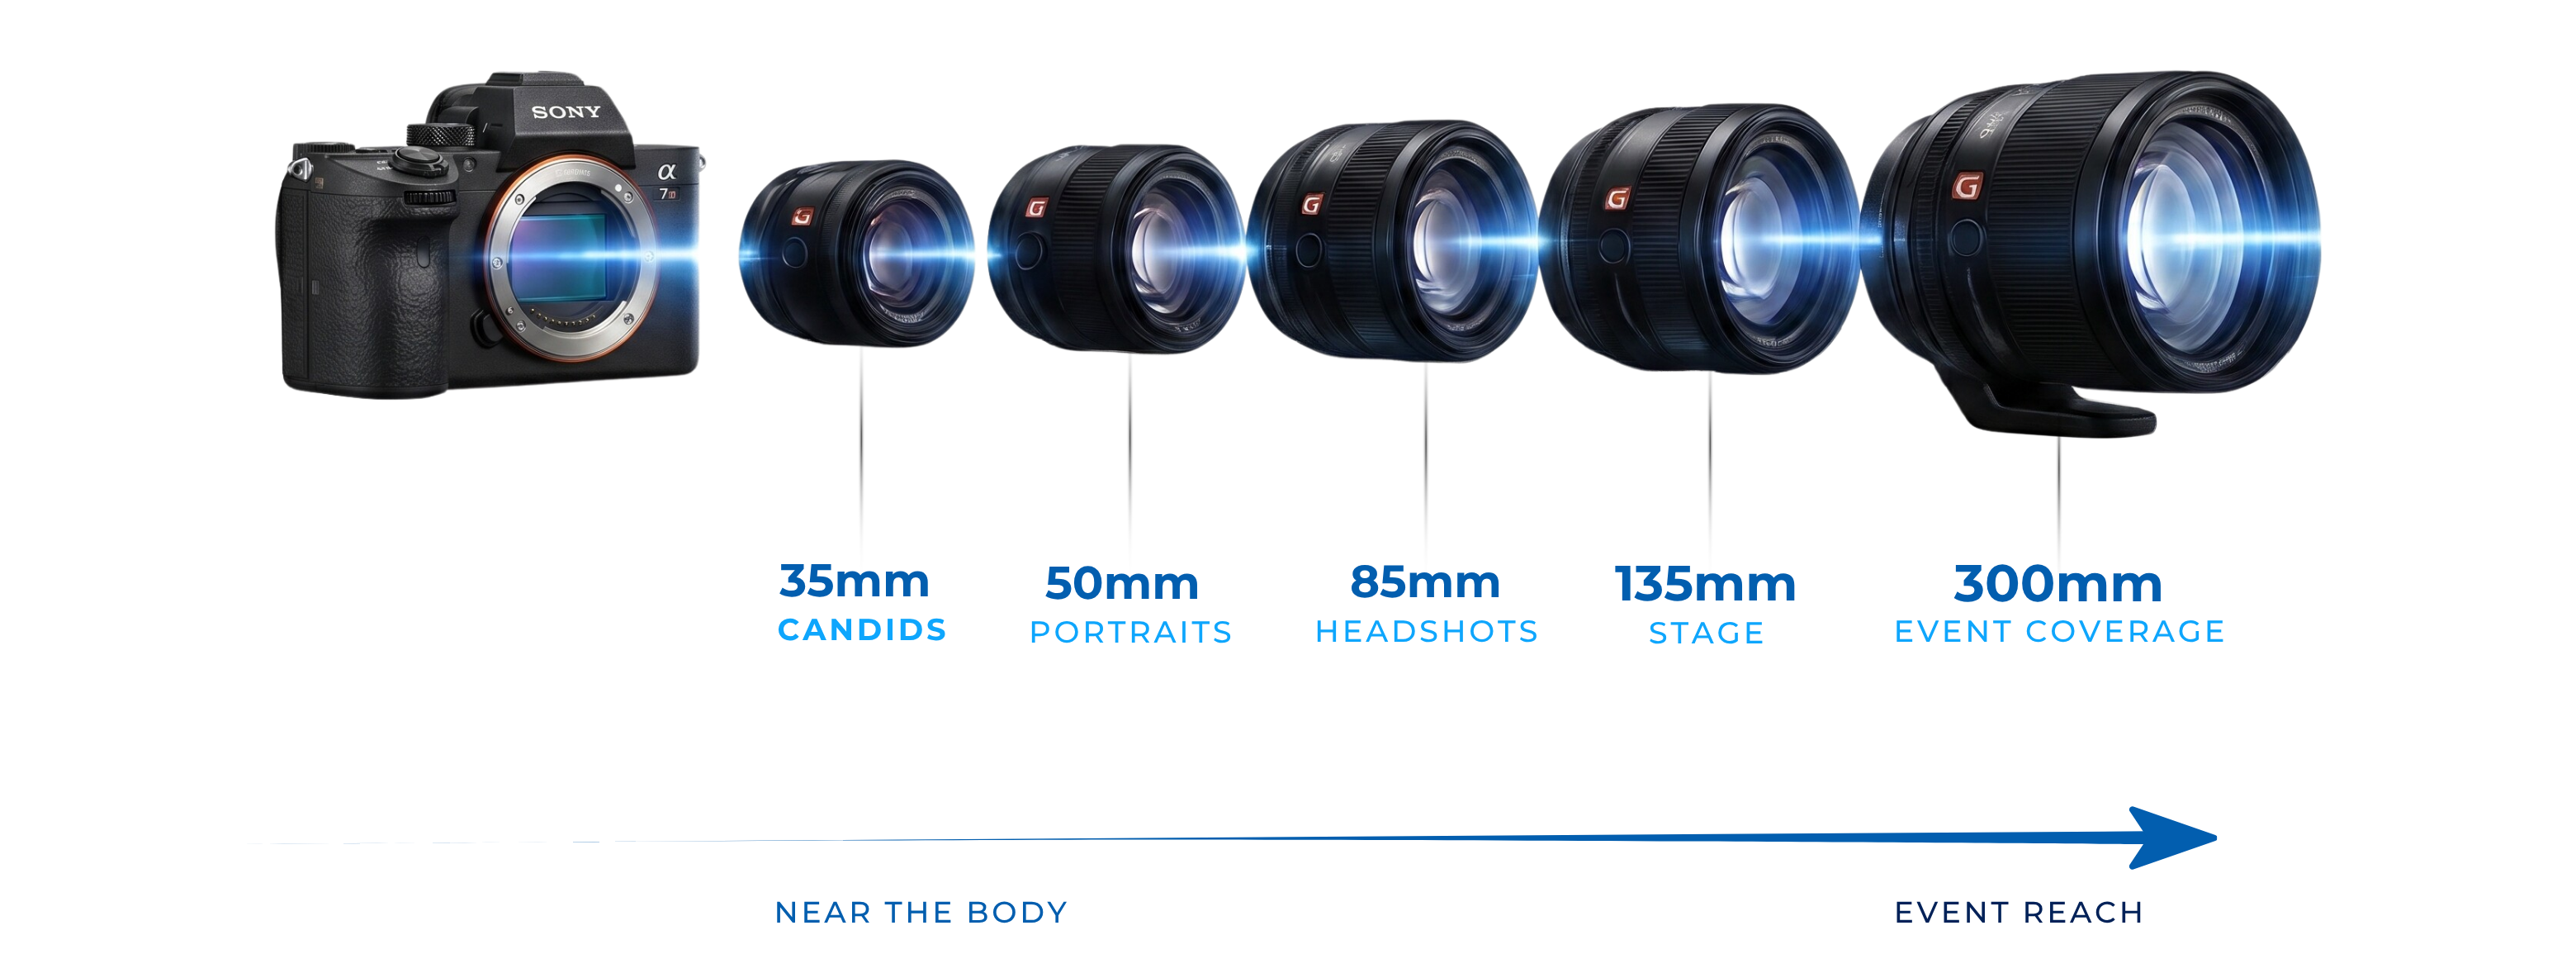
If there's one place operators are likely to consistently underspend, it's lenses. The camera body captures the signal; the lens decides the quality of the light that reaches it. A sharp prime lens on a mid-range body will almost always outperform a kit lens on an expensive camera body.
For Booth Setups: Start with Your Kit Lens
When your DSLR is connected to Snappic, zoom is controlled entirely by the lens, not the app. A fixed focal length prime (like a 50mm f/1.8) gives you no zoom at all. For booth work, where you need flexibility to frame individuals, couples, and groups of four or more without physically moving the camera, a zoom lens is the practical choice.
The kit lens that ships with most camera bodies is more than sufficient for photo booth setups:
- Canon 18-55mm (EF-S mount, older DSLRs) or 18-45mm / 18-150mm (RF-S mount, newer mirrorless): The standard kit lens covers the focal range most booths need. Sharp enough for prints, versatile enough for groups.
- Nikon 18-55mm (F mount, older DSLRs) or 16-50mm (Z mount, newer mirrorless): Same story. The kit lens does the job and comes with the body in most cases.
- Sony 18-55mm (A mount, older models) or 16-50mm (E mount, newer mirrorless): Sony's kit zoom provides a solid starting point for booth work.
In most cases, no more than this is needed for a photo booth. Many operators run their entire business on the kit lens and only upgrade when they add roaming photography or need better low-light performance.
For Roaming Photography: Where Primes Shine
Roaming photography is where wider-aperture prime lenses truly shine. You're shooting in varied lighting, often without supplementary lights, and this is where the wider aperture (f/1.8 or f/1.4) lets in significantly more light while creating sleek background separation that makes candid photos look professional.
- Canon EF 50mm f/1.8 STM (~$125) or RF 50mm f/1.8 STM (~$200): It's sharp, affordable, and excellent for candid portraits. Choose the mount that matches your body (EF for older DSLRs, RF for newer mirrorless).
- Nikon AF-S 35mm f/1.8G DX (~$180-$200) or Z 40mm f/2 (~$250): Offers a natural field of view for roaming work and functions great when capturing groups of 2-4 without backing up.
- Sony E 35mm f/1.8 OSS (~$350): Solid for Sony APS-C users. The optical stabilization is particularly useful when event lighting varies.
Upgrade Lenses
When you're ready to step beyond the kit lens or starter primes, the right upgrade depends on whether your body uses an older lens mount (Canon EF, Nikon F) or a newer mirrorless mount (Canon RF, Nikon Z, Sony E).
- Canon EF 24-70mm f/2.8L II or Sigma 18-35mm f/1.8 (EF mount): These offer a versatile zoom range for older Canon bodies, with strong sharpness across the frame.
- Sony FE 35mm f/1.4 GM or 85mm f/1.4 GM: If image quality is the product you're selling, Sony's G Master glass is hard to argue with.
Sigma and Tamron make equivalent lenses for most mounts and generally come in cheaper than the first-party options. Worth considering at every tier, especially when the budget is going toward other parts of the setup.
Lighting: Continuous vs Flash, What Works When You're Moving Through a Venue
Flash is the go-to for event and roaming photography. However, if you're still getting the hang of it, a camera mounted LED gets you started without the complexity.
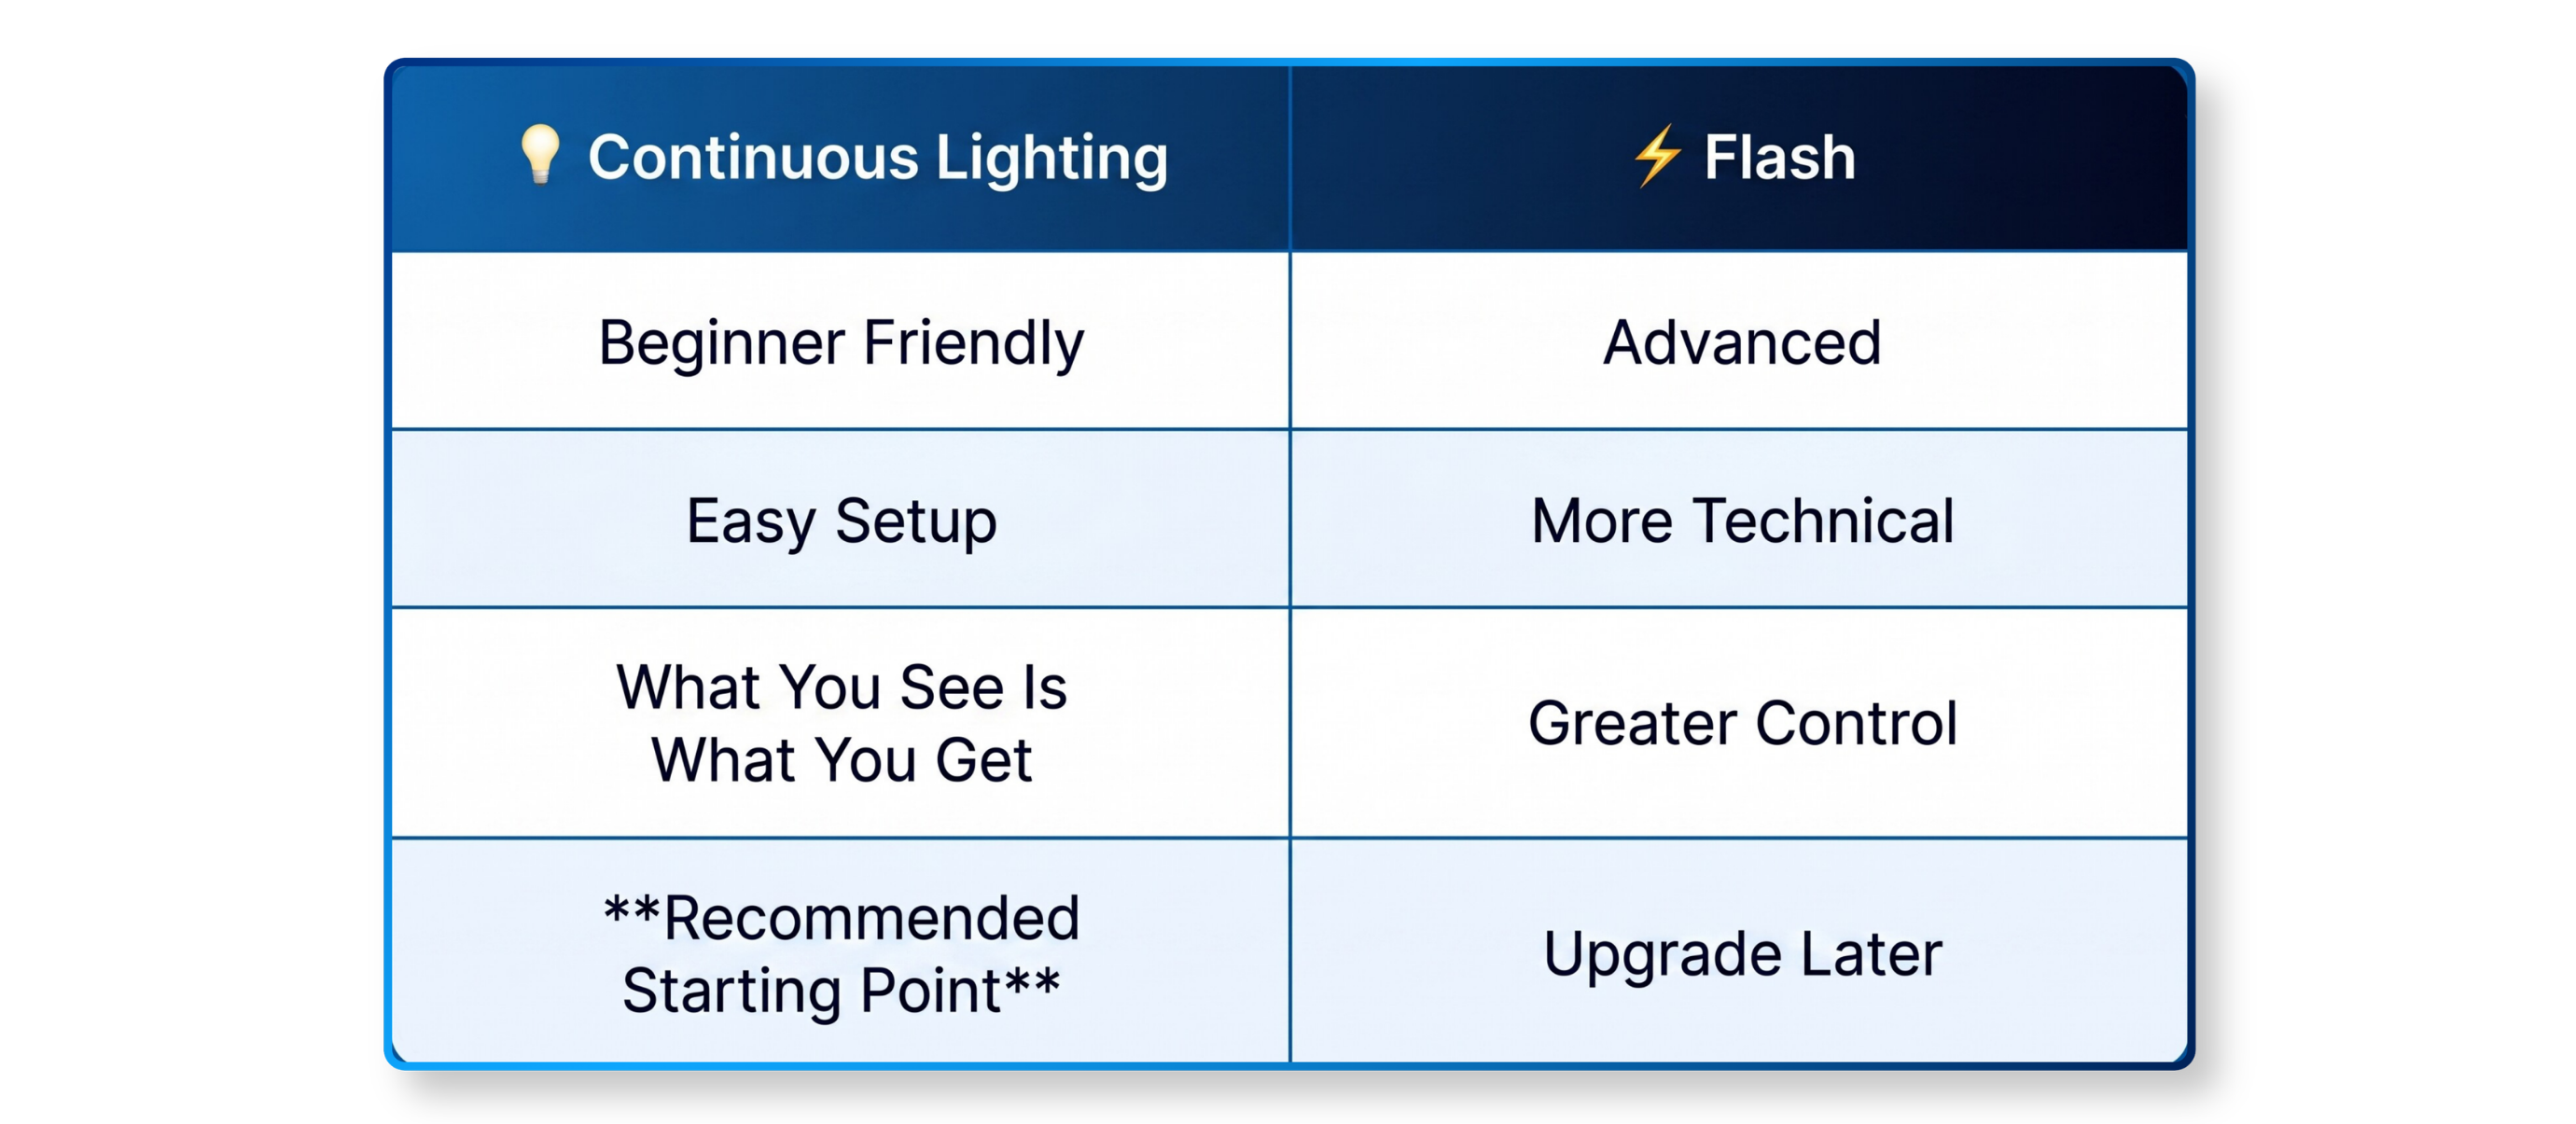
Lighting for event photography and roaming is a different conversation to lighting a fixed photo booth, as you can't carry around a softbox when shooting a wedding or throughout an activation. You need something portable, quick to adjust and ideally mounted directly on the camera.
Flash (Recommended for Event Photography and Roaming)
For most event and roaming photography, flash is the best option. It offers you consistent output regardless of venue lighting, freezes motion cleanly, better control over background separation and produces the punchy, professional results clients expect from event photography. Below are some great options, if you're looking to add a flash to your setup:
- Godox TT685 (~$80–$90): A capable on-camera flash for early experiments. Reliable through-the-lens (TTL) metering takes some of the guesswork out.
- Godox AD200Pro: The off-camera flash most serious operators upgrade to. It's portable, powerful, and compatible with Godox's triggering system.
- Godox MS300 (~$100-$130): A mains-powered studio monolight widely used across the photo booth industry. Offers higher output and is more consistent than battery-powered options, making it suitable for fixed booth setups where you have access to a power outlet. However, it is not portable enough for roaming.
- Profoto B10 Plus (~$1,400–$1,500): The professional benchmark. Consistent colour, fast recycling, and built for high-volume events. An investment you grow into, not a starting point.
Continuous Lighting
If you're not super comfortable using a flash, a small bi-colour LED panel that mounts on your camera's hot shoe might be a practical alternative. While it may not match the power of a flash, it can offer enough fill light to clean up shadows in dim or low-light venues, without the complexity of sync speeds or triggers.
Below are some great options:
- Ulanzi VL200 (~$40-$60): A bi-color LED panel that mounts directly to your camera's hot shoe. Adjustable color temperature (2500K-9000K), rechargeable via USB-C, and light enough to sit on the camera without making it front-heavy. A popular entry point for operators adding fill light to their roaming setup.
- Aputure MC (~$100-$300): A pocket-sized RGBWW LED with app control, magnetic mounting, and a built-in battery. Higher color accuracy than budget panels and small enough to slip into a pocket between uses. A step up in quality and versatility if you want more precise control over color temperature.
Printers: Adding a Physical Keepsake to Your Event Photography
Choosing the right dye-sub printer and understanding why a print station turns your digital service into something guests remember.
If you're coming from a photo booth background, you might already know the value a physical print offers your guests. But even if you're primarily an event photographer, a dedicated print station can set your offering apart.
The setup is fairly straightforward: your DSLR captures photos as your weave through the venue, and the images can be sent wirelessly to a print station set up in the event space. Guests can receive their photos digitally, they scan a QR code to receive it via text or email on the spot, or they can collect a printed version from the print station at any point throughout the event. This workflow adds a physical touchpoint to what would otherwise be an entirely digital experience.
For events such as weddings or celebrations, your guests are able to walk away with a memento to remember the moment. And for corporate activations, it means branded prints could be sitting on desks come the following Monday. The print becomes complementary to instant digital sharing.
For your guests, the print is the souvenir they can take home, pin to their fridge or gift to their family members. A blurry or washed-out print from an unreliable machine can undercut an otherwise excellent experience.
Photo booth printing almost exclusively uses dye-sublimation (dye-sub) technology, a heat transfer process that produces sharp, smudge-resistant prints quickly and consistently.
Starter options
- Hiti P310W (~$350–$450): The most popular beginner printer in the industry. Compact, portable, and produces 4×6 prints reliably. Perhaps not the fastest, but more than adequate for early events.
- Citizen CY-02 (~$300–$380): A reasonable alternative if the Hiti is out of stock. Similar output quality and print speed.
Mid-Tier
- DNP DS620A (~$750–$900): This is where most serious operators land. Faster print speeds (around 8 seconds per 4×6), excellent colour accuracy, and a reputation for reliability under pressure.
- Mitsubishi CP-D70DW (~$650–$800): A solid mid-range option with strong colour output and a smaller footprint than the DNP.
Pro
- DNP DS820A (~$1,400–$1,600): This one's for operators who need 8×10 or larger prints. Often used for corporate activations and photo marketing booths.
- Mitsubishi CP-D90DW (~$1,500–$1,800): The premium end of the dye-sub market. Fast, consistent, and built for high-volume events.
The Software Layer: Where the Hardware Becomes an Event
Your camera and printer are tools. Snappic is what turns them into a professional event experience.
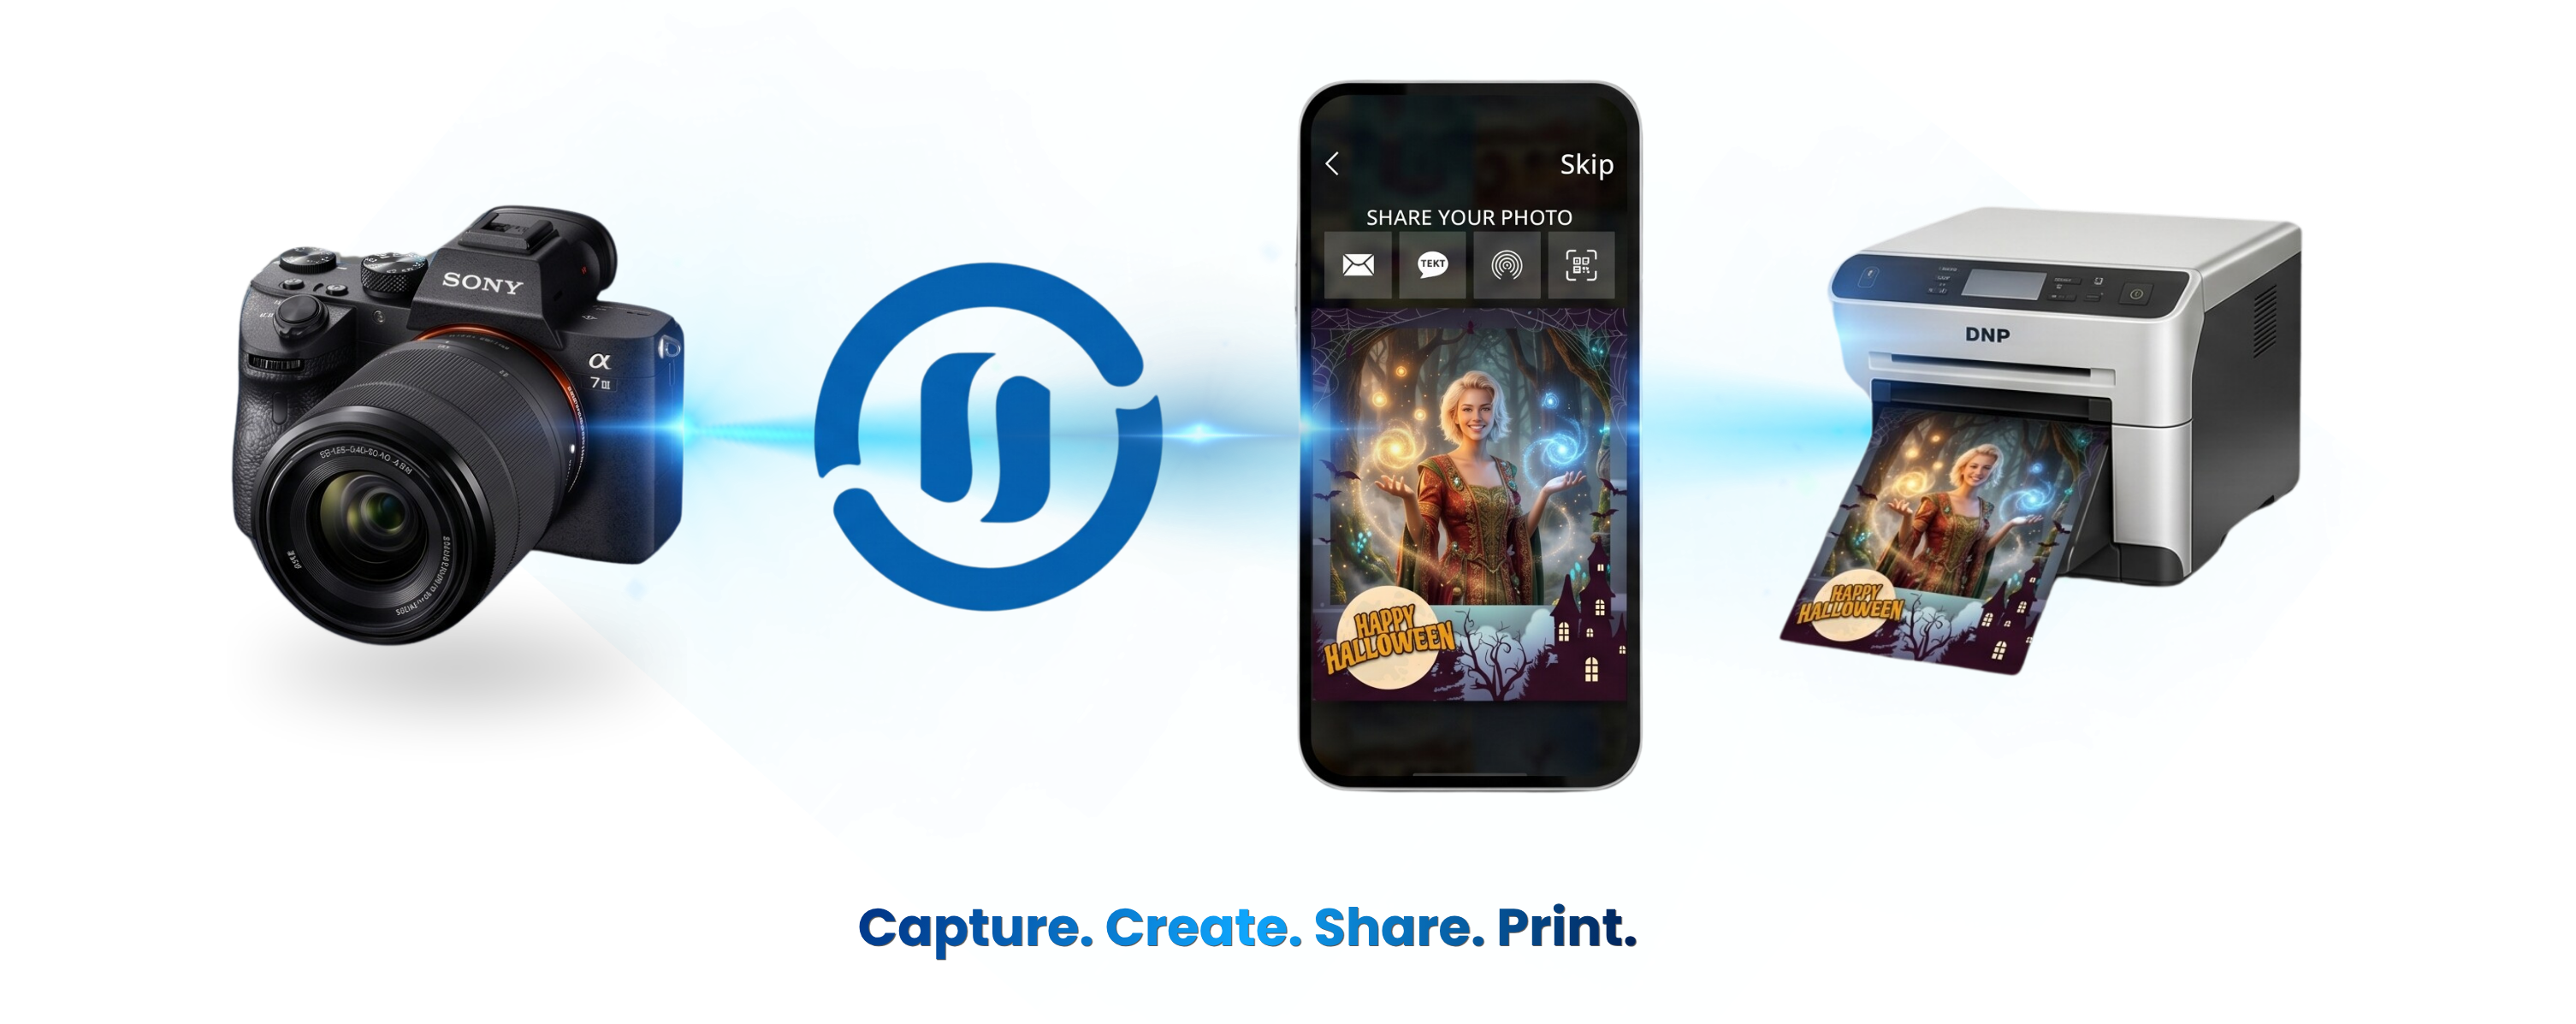
You can have the best camera body, the sharpest glass, and the most reliable printer on the market, and still run a disjointed event if your software isn't connecting the pieces.
Snappic handles the capture workflow, gallery sharing, branded overlays, AI FX, print queuing, and everything your client sees at the end of the night. It connects directly to Canon, Nikon, and Sony cameras via USB tethering, so photos flow from the shutter into the editing and sharing workflow automatically. There's no manual step between the capture and the guest's print or digital share.
For Booth Owners Adding a DSLR
If you're upgrading from the iPad's built-in camera, Snappic makes the transition straightforward. The same app you've been running your booth on handles the DSLR connection. Your templates, overlays, and event settings carry over. The camera upgrade improves the capture quality; the workflow stays familiar.
For Roaming Photography
Snappic's Roaming Photography mode transforms your iPhone or iPad plus DSLR setup into a mobile photography station. The photographer controls everything from the iOS device: continuous capture, on-screen gallery review, and instant sharing. Guests select their photos and receive them on the spot. It's available on Snappic's Pro and Agency plans.
Roaming Photography mode - Snappic Help Centre
The Equipment Is a Starting Point, Not the Destination
What makes this work isn't the camera body or the printer model. It's the experience you deliver: the warmth of the interaction, the quality of the output, and how smoothly everything runs when fifty people are waiting for outputs and the speeches are about to start. Gear supports that. Software connects it. And every operator running a professional DSLR setup today started with less than you think.
If you're ready to take the next step, Snappic's free trial gives you access to full DSLR support, roaming photography mode, gallery sharing, AI FX, and everything else you need to run your first DSLR event properly.
Related Articles
FREQUENTLY ASKED QUESTIONS:
- Q: What camera is best for a photo booth or roaming photography setup? A: A mid-range mirrorless camera like the Canon M50 Mark II, Canon R7, or Sony α6400 are all excellent choices. For budget-conscious operators, a pre-owned DSLR like the Canon EOS Rebel SL3 or Nikon D3600 works well for still photo capture.
- Q: Does Snappic work with Canon, Nikon, and Sony cameras? A: Yes. Snappic natively supports Canon, Nikon, and Sony DSLRs and mirrorless cameras via USB tethering, with full photo and video functionality available on compatible mirrorless bodies.
- Q: What iOS device do I need to run Snappic with a DSLR? A: You need an iPhone 8 or later, or an iPad Air 2 or later, running iOS 15 or higher. For roaming photography, an iPhone is recommended for its lighter, more portable form factor.
- Q: What is the best printer for a photo booth setup? A: The Hiti P310W (~$350–$450) is the most popular starter option. For busier events, the DNP DS620A (~$750–$900) is the industry favourite, offering faster print speeds and superior colour accuracy.
- Q: How much does a full DSLR photo booth setup cost? A: Costs range from ~$1,250 for a starter setup to $9,000+ for a professional rig. Most operators begin with a pre-owned camera body, a prime lens, an iOS device, and Snappic, then upgrade as their business grows.
More from Melissa
Previous Post
Best Wedding Photo Booth Software for 2026: How to Book More Premium Clients
Boost bookings this wedding season with Snappic’s wedding photo booth software. Sell premium packages, wow couples, and upsell every wedding photo booth experience
Next Post
DSLR Photo Booth Setup Guide
Master DSLR camera settings, lighting setups, tethering and troubleshooting for photo booths, roaming photography and professional event photography