DSLR Photo Booth Setup Guide
Master DSLR camera settings, lighting setups, tethering and troubleshooting for photo booths, roaming photography and professional event photography

July 6, 2026
The Snappic team is passionate about creating unforgettable photo booth experiences.
How to Take Better DSLR Photos with Snappic: Settings, Lighting & Troubleshooting Guide
You’ve invested in the camera, chosen your lens, connected everything to Snappic and you’re ready for your first event. Now comes the difference between photos that look amateur and photos that clients rave about.
The good news? You don’t need to be a professional photographer. A few key settings, the right lighting setup, and a properly configured Snappic workflow will get you 90% of the way there.
This guide walks through the camera settings, lighting setups, tethering configuration and troubleshooting tips we recommend for photo booth operators and roaming photographers.
If you're still deciding what gear to buy, start with Part 1 of this series. If you've already got the hardware and need to make it perform, this is the article.
The 5 Camera Settings That Matter Most
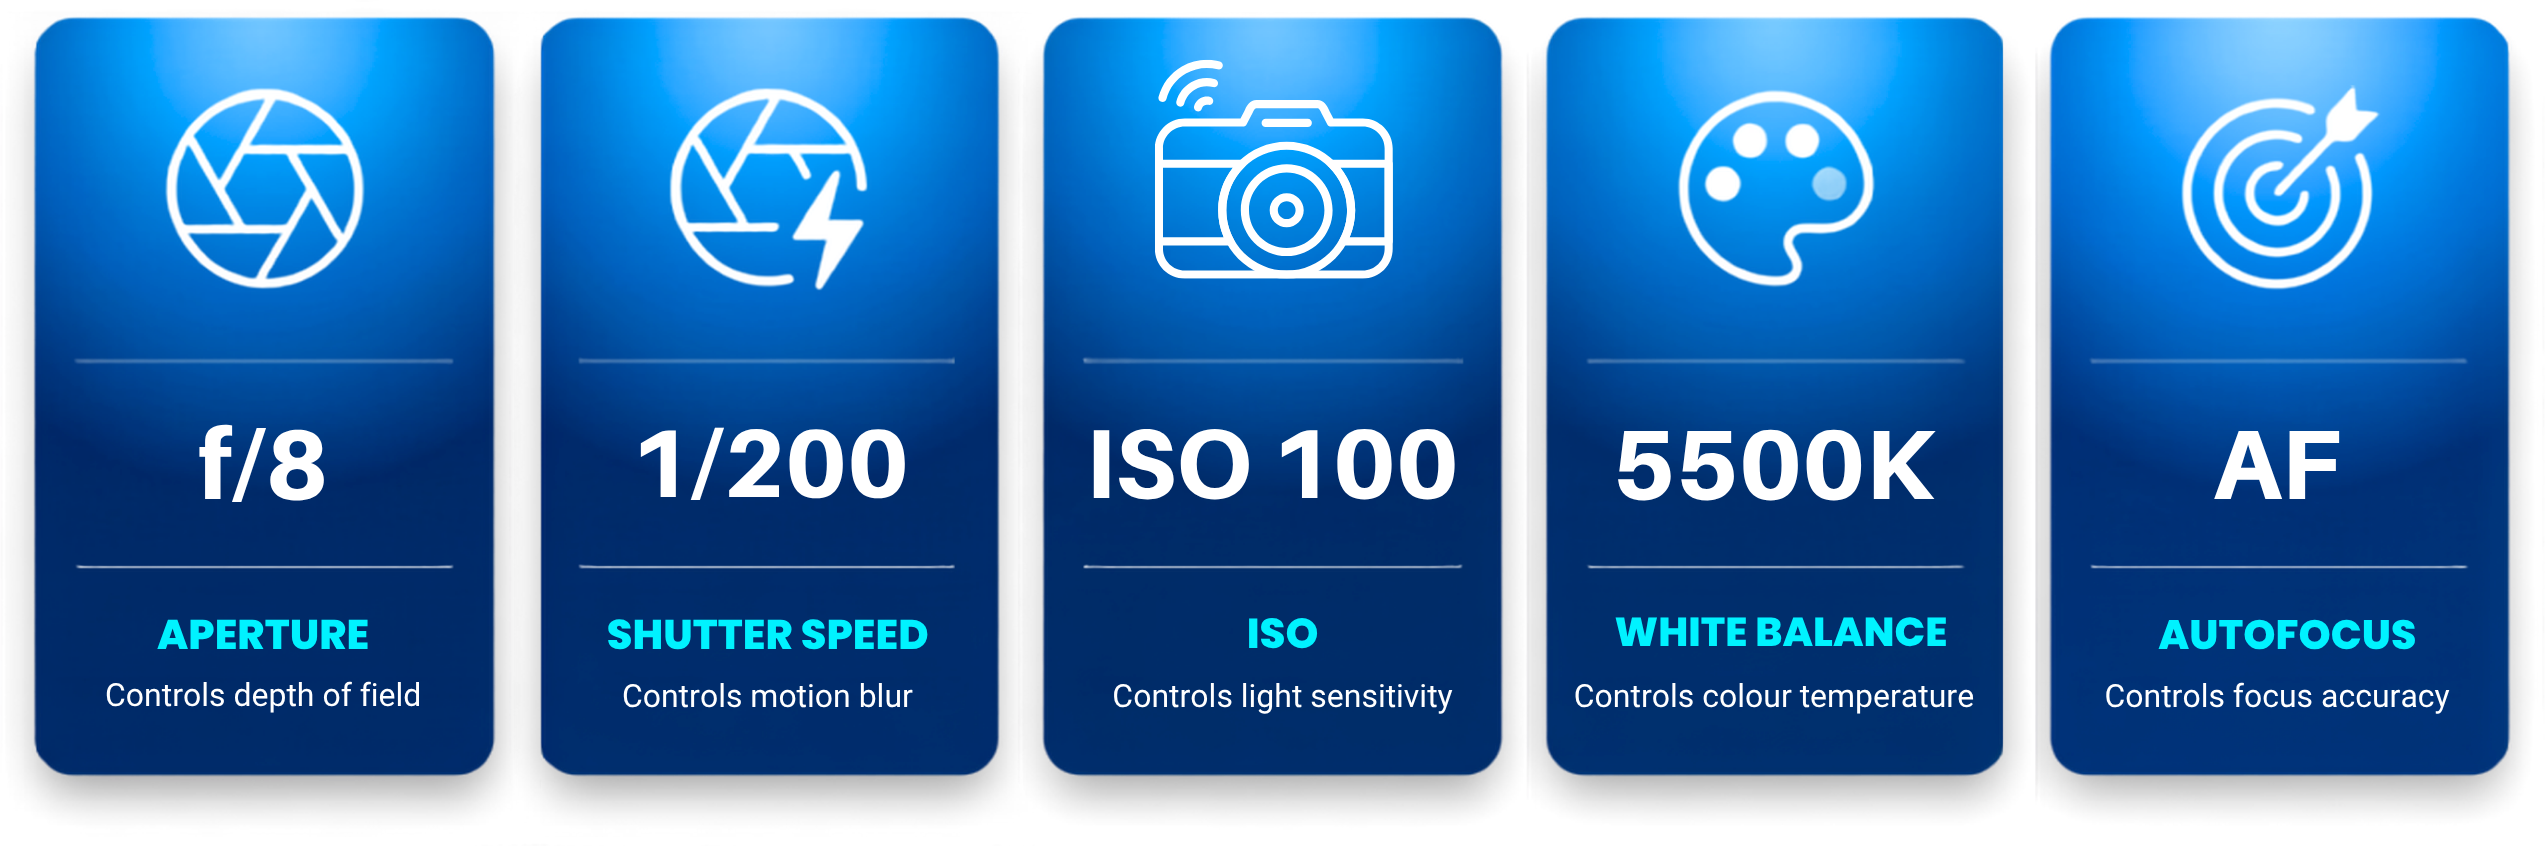
Most great event photos come down to five settings. Here's what each one does and why it matters:
1. Aperture
Aperture controls how much of the image is in focus. For most photo booth setups, f/8 is a reliable starting point. It keeps groups of people sharp, even if they're standing at slightly different distances from the camera.
For roaming photography, where you're often photographing one or two people at a time, f/2.8 to f/4 creates a more professional look with softer backgrounds and better subject separation.
2. Shutter Speed
Shutter speed controls how movement is captured. For flash-based booths, stick to 1/200 or slower. This keeps you safely within flash sync speed and ensures consistent results. Exceeding it can produce a dark band across the frame, which is one of the most common booth mistakes.
For roaming photography or continuous lighting, 1/125 is a safe minimum. If guests are moving, dancing, or jumping into photos, increase to 1/250 or faster.
3. ISO
ISO controls how sensitive your camera is to light. Lower values produce cleaner images with less grain.
For flash setups, keep ISO between 100 and 400. If you need to push it above 400 even with the flash at full power, the flash is not powerful enough for your setup. Either increase output, move it closer, or consider switching to continuous light.
For continuous lighting and roaming, ISO 400 to 1600 is often perfectly acceptable depending on the venue.
4. White Balance
White balance determines how colours appear in your images. If guests are looking orange, blue, or green, white balance is usually the culprit.
For flash setups, start with the Flash white balance preset or set a manual colour temperature of 5500K. For continuous light, either use Auto White Priority or manually match the colour temperature of your lights. Manual is more reliable in mixed lighting environments where your booth light and the venue ambient are different temperatures.
5. Autofocus
Sharp photos are non-negotiable. Enable face detection and eye detection whenever your camera supports it.
For most photo booth work, One Shot AF mode is the right setting. For roaming photography, continuous autofocus can be useful when guests are moving around.
In the Snappic App, enable autofocus during countdown rather than during capture for booth setups. This gives the camera time to lock focus before the shot fires. For roaming or action poses, switch to autofocus during capture instead. Do not enable both simultaneously; it slows the capture and increases the miss rate in low light.
Recommended DSLR Settings for Most Events
If you're unsure where to start, these three profiles provide a reliable baseline.

Photo Booth with Flash
Camera Mode: Manual
Aperture: f/8
Shutter Speed: 1/200
ISO: 100
White Balance: Flash preset or 5500K
Snappic preview: Disable 'Use Capture Settings for Live Preview' (set brighter preview separately)
This setup delivers sharp images, consistent exposure, and excellent print quality. The separate preview setting lets you see your subjects clearly between shots without affecting capture exposure.

Photo Booth with Continuous Lighting
Camera Mode: Manual
Aperture: f/4 to f/5.6
Shutter Speed: 1/125
ISO: 400 to 800
White Balance: Auto White Priority or manual match to light temperature
Snappic preview: Enable 'Use Capture Settings for Live Preview' (keeps preview accurate)
Continuous lighting is often easier for operators getting comfortable with a DSLR because what you see in the preview is what you get in the final image. No sync variables to manage.

Roaming Photography
Camera Mode: Manual
Aperture: f/2.8 to f/4
Shutter Speed: 1/250 or faster
ISO: Auto (cap at 1600)
White Balance: Auto White Priority
Autofocus: During capture (subjects may be moving)
These settings give you enough flexibility to move through a venue quickly while maintaining professional quality. The wider aperture lets in more light and creates better subject separation for candid portraits.
How to Connect Your DSLR to Snappic
Snappic supports Canon, Nikon, and Sony cameras via USB tethering. The core workflow is the same across all three, but each brand has its own setup steps.
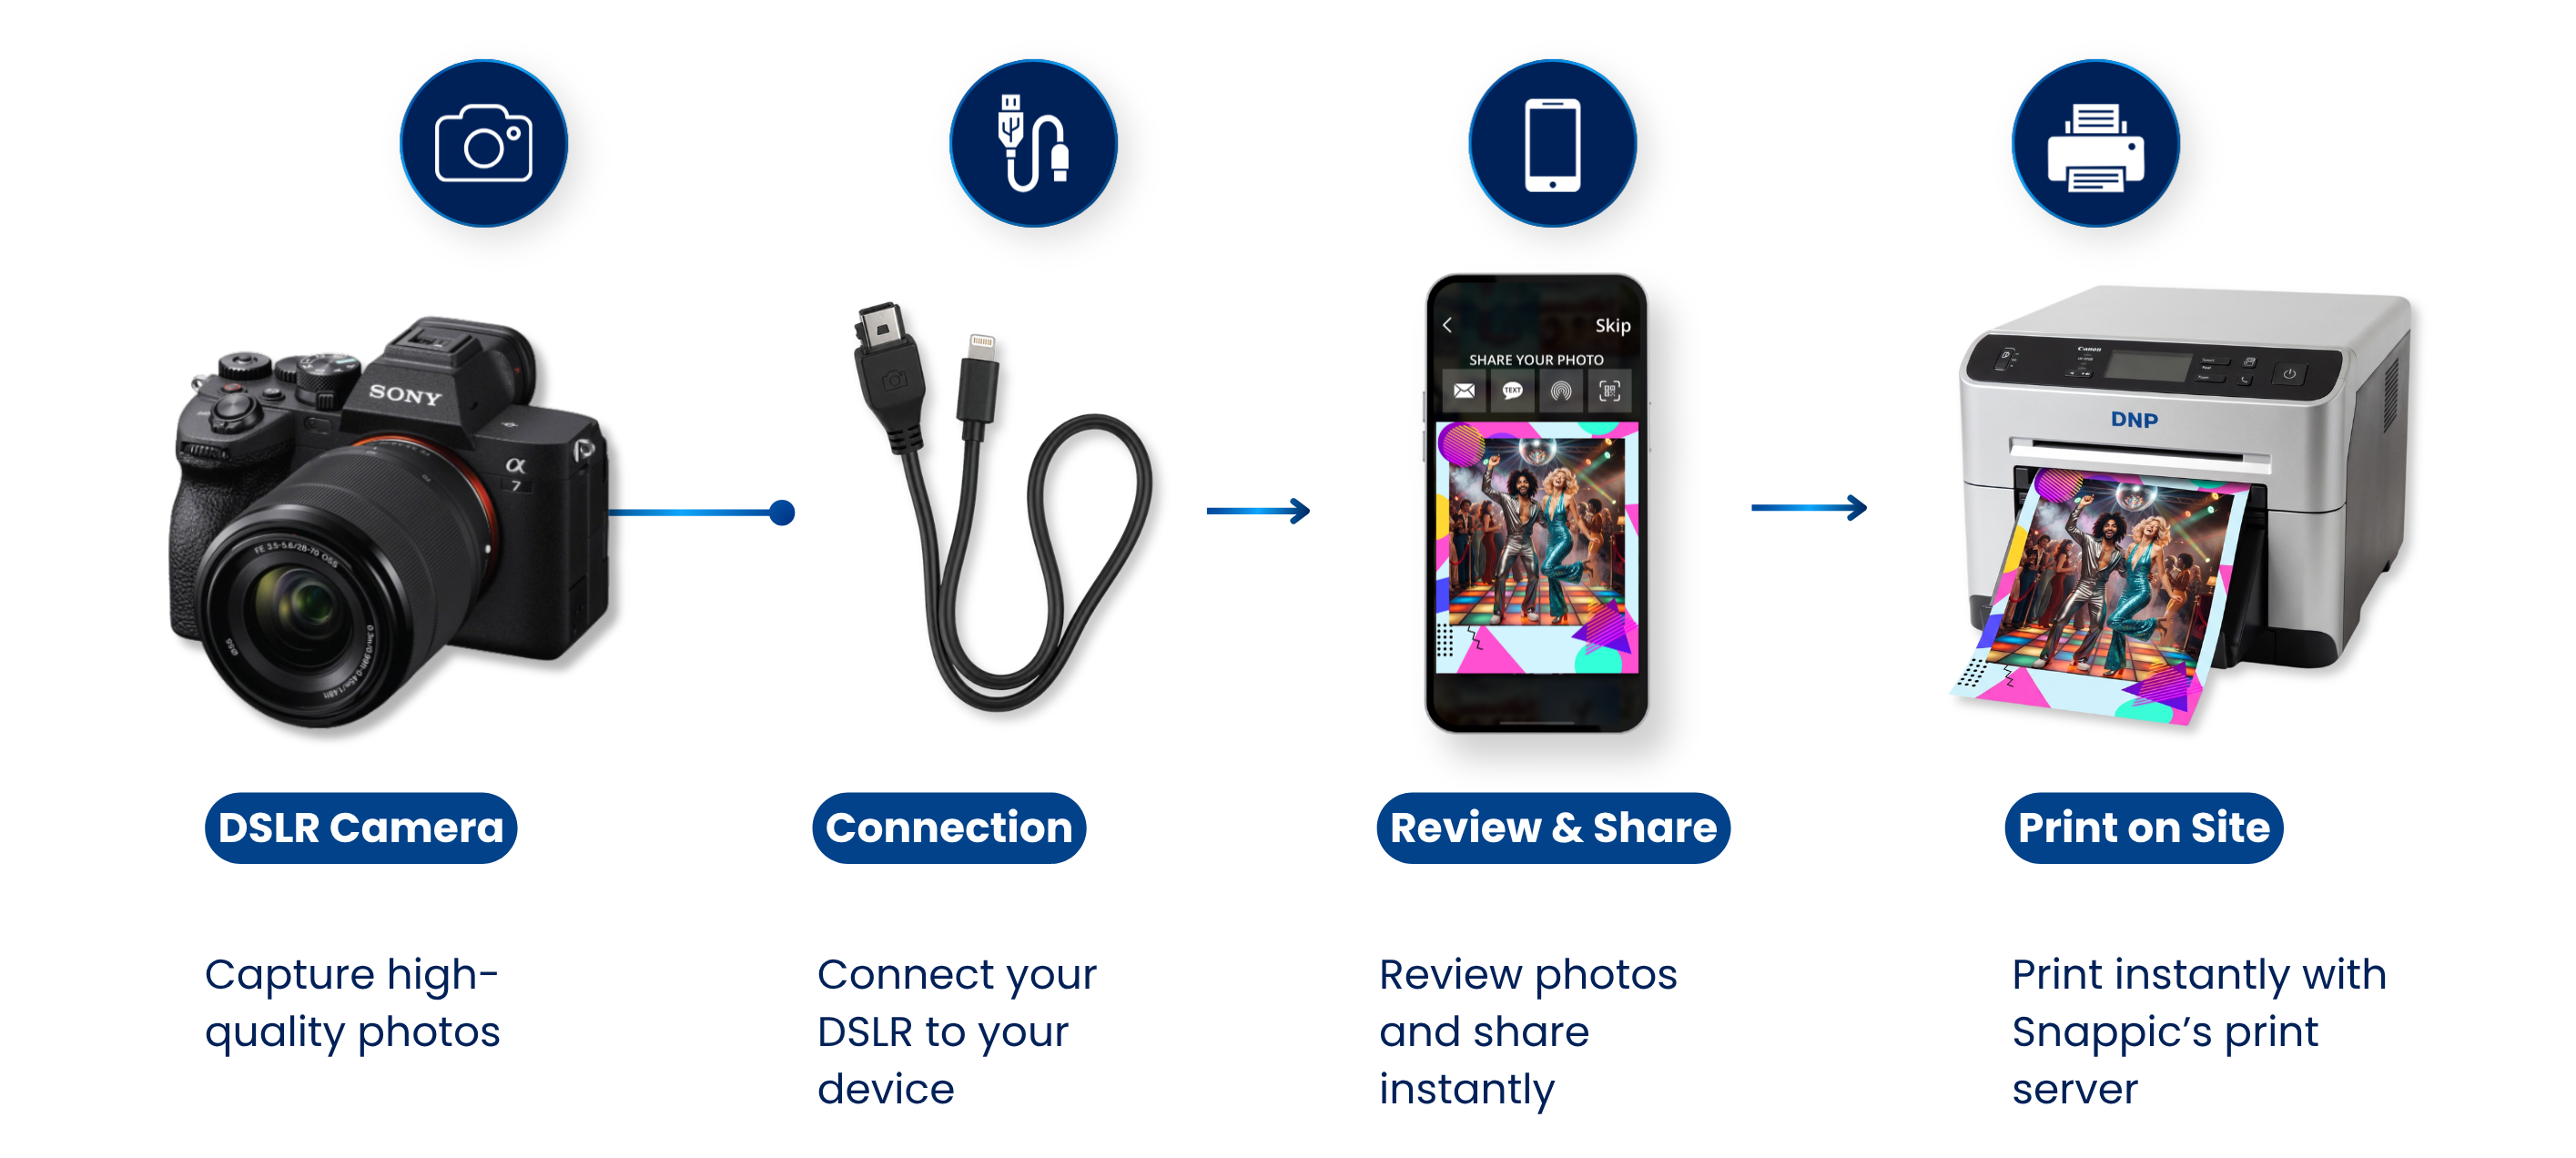
Before connecting, regardless of brand: insert a formatted SD card, set the camera to Manual (M) mode, disable any camera Wi-Fi, ensure the battery is fully charged, and use a reliable USB cable. A surprising number of connection issues come down to cables, power, or missing SD cards.
Full DSLR compatibility list - Snappic Help Center
Canon
Canon has the broadest DSLR compatibility in Snappic and remains one of the most popular choices among booth operators. Both DSLR and mirrorless (R-line and M-line) bodies are supported.
Before connecting: Enable Live View. Set USB Connection Type to 'Photo Import/Remote Control'. Insert and format an SD card. On some models, disable Silent Lv Shoot if using third-party flash.
Canon DSLR settings guide - Snappic Help Center
Nikon
Most Nikon D-series and Z-series cameras are supported. Check the compatibility list before purchasing.
Before connecting: Enable Live View (the Lv button is usually to the right of the viewfinder). Disable USB Charging. Insert and format an SD card with write protection off.
Nikon-specific fix: If you experience slow capture after pressing the shutter, format the SD card. This is a known issue with a consistent fix.
Sony
Sony mirrorless cameras have become increasingly popular for roaming photography. Snappic currently supports photo workflows only through iOS tethering (video capture is a Sony-side limitation).
Before connecting: Set USB Mode to 'PC Remote'. Disable USB Charging. Set image capture to JPEG (Sony RAW is not supported and will slow or break tethering). Insert a formatted SD card.
Sony DSLR settings guide - Snappic Help Center
In-App Camera Settings
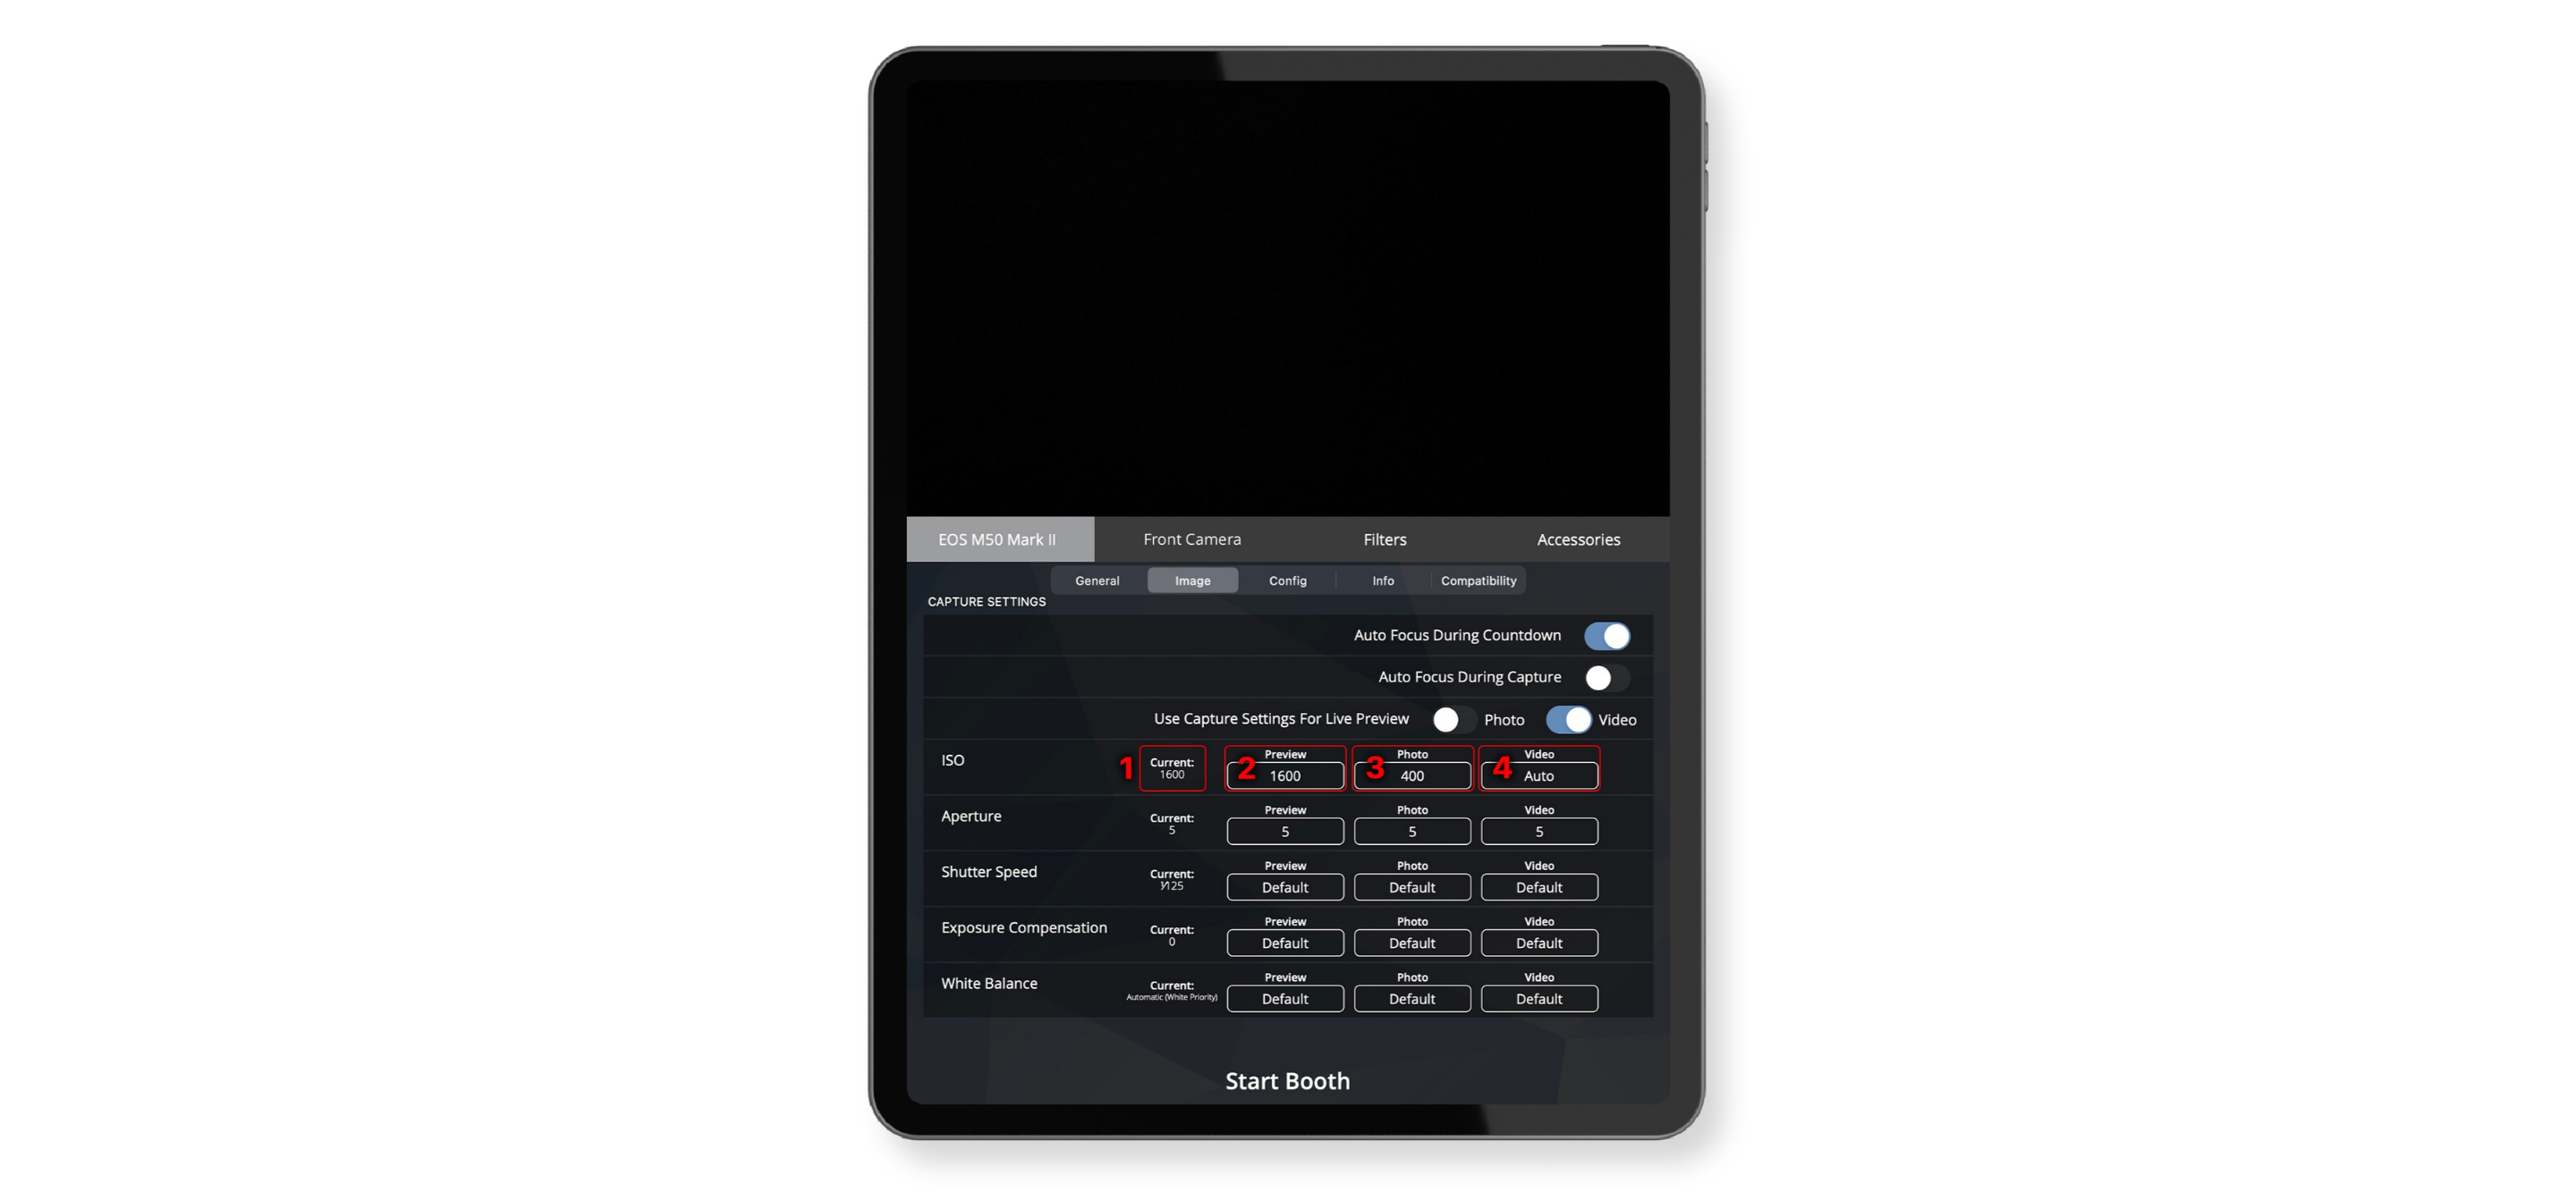
Once connected, all key settings (ISO, shutter speed, aperture, white balance, autofocus) can be adjusted directly in Snappic without touching the camera. Settings are saved per event, so your preferred configuration loads automatically next time.
The settings view has four columns: Current (live camera value), Preview, Capture, and Video. For flash setups, you'll set different values in Preview and Capture; the preview needs to be brighter so you can see subjects between shots.
Adjust DSLR camera settings in-app - Snappic Help Center
Lighting: The Secret Behind Professional-Looking Photos
If you're unhappy with your photo quality, lighting is usually the problem.
Many operators spend thousands upgrading cameras when a better lighting setup would have improved their photos far more. The difference between amateur-looking output and professional results almost always comes down to how the light is positioned, diffused, and balanced.
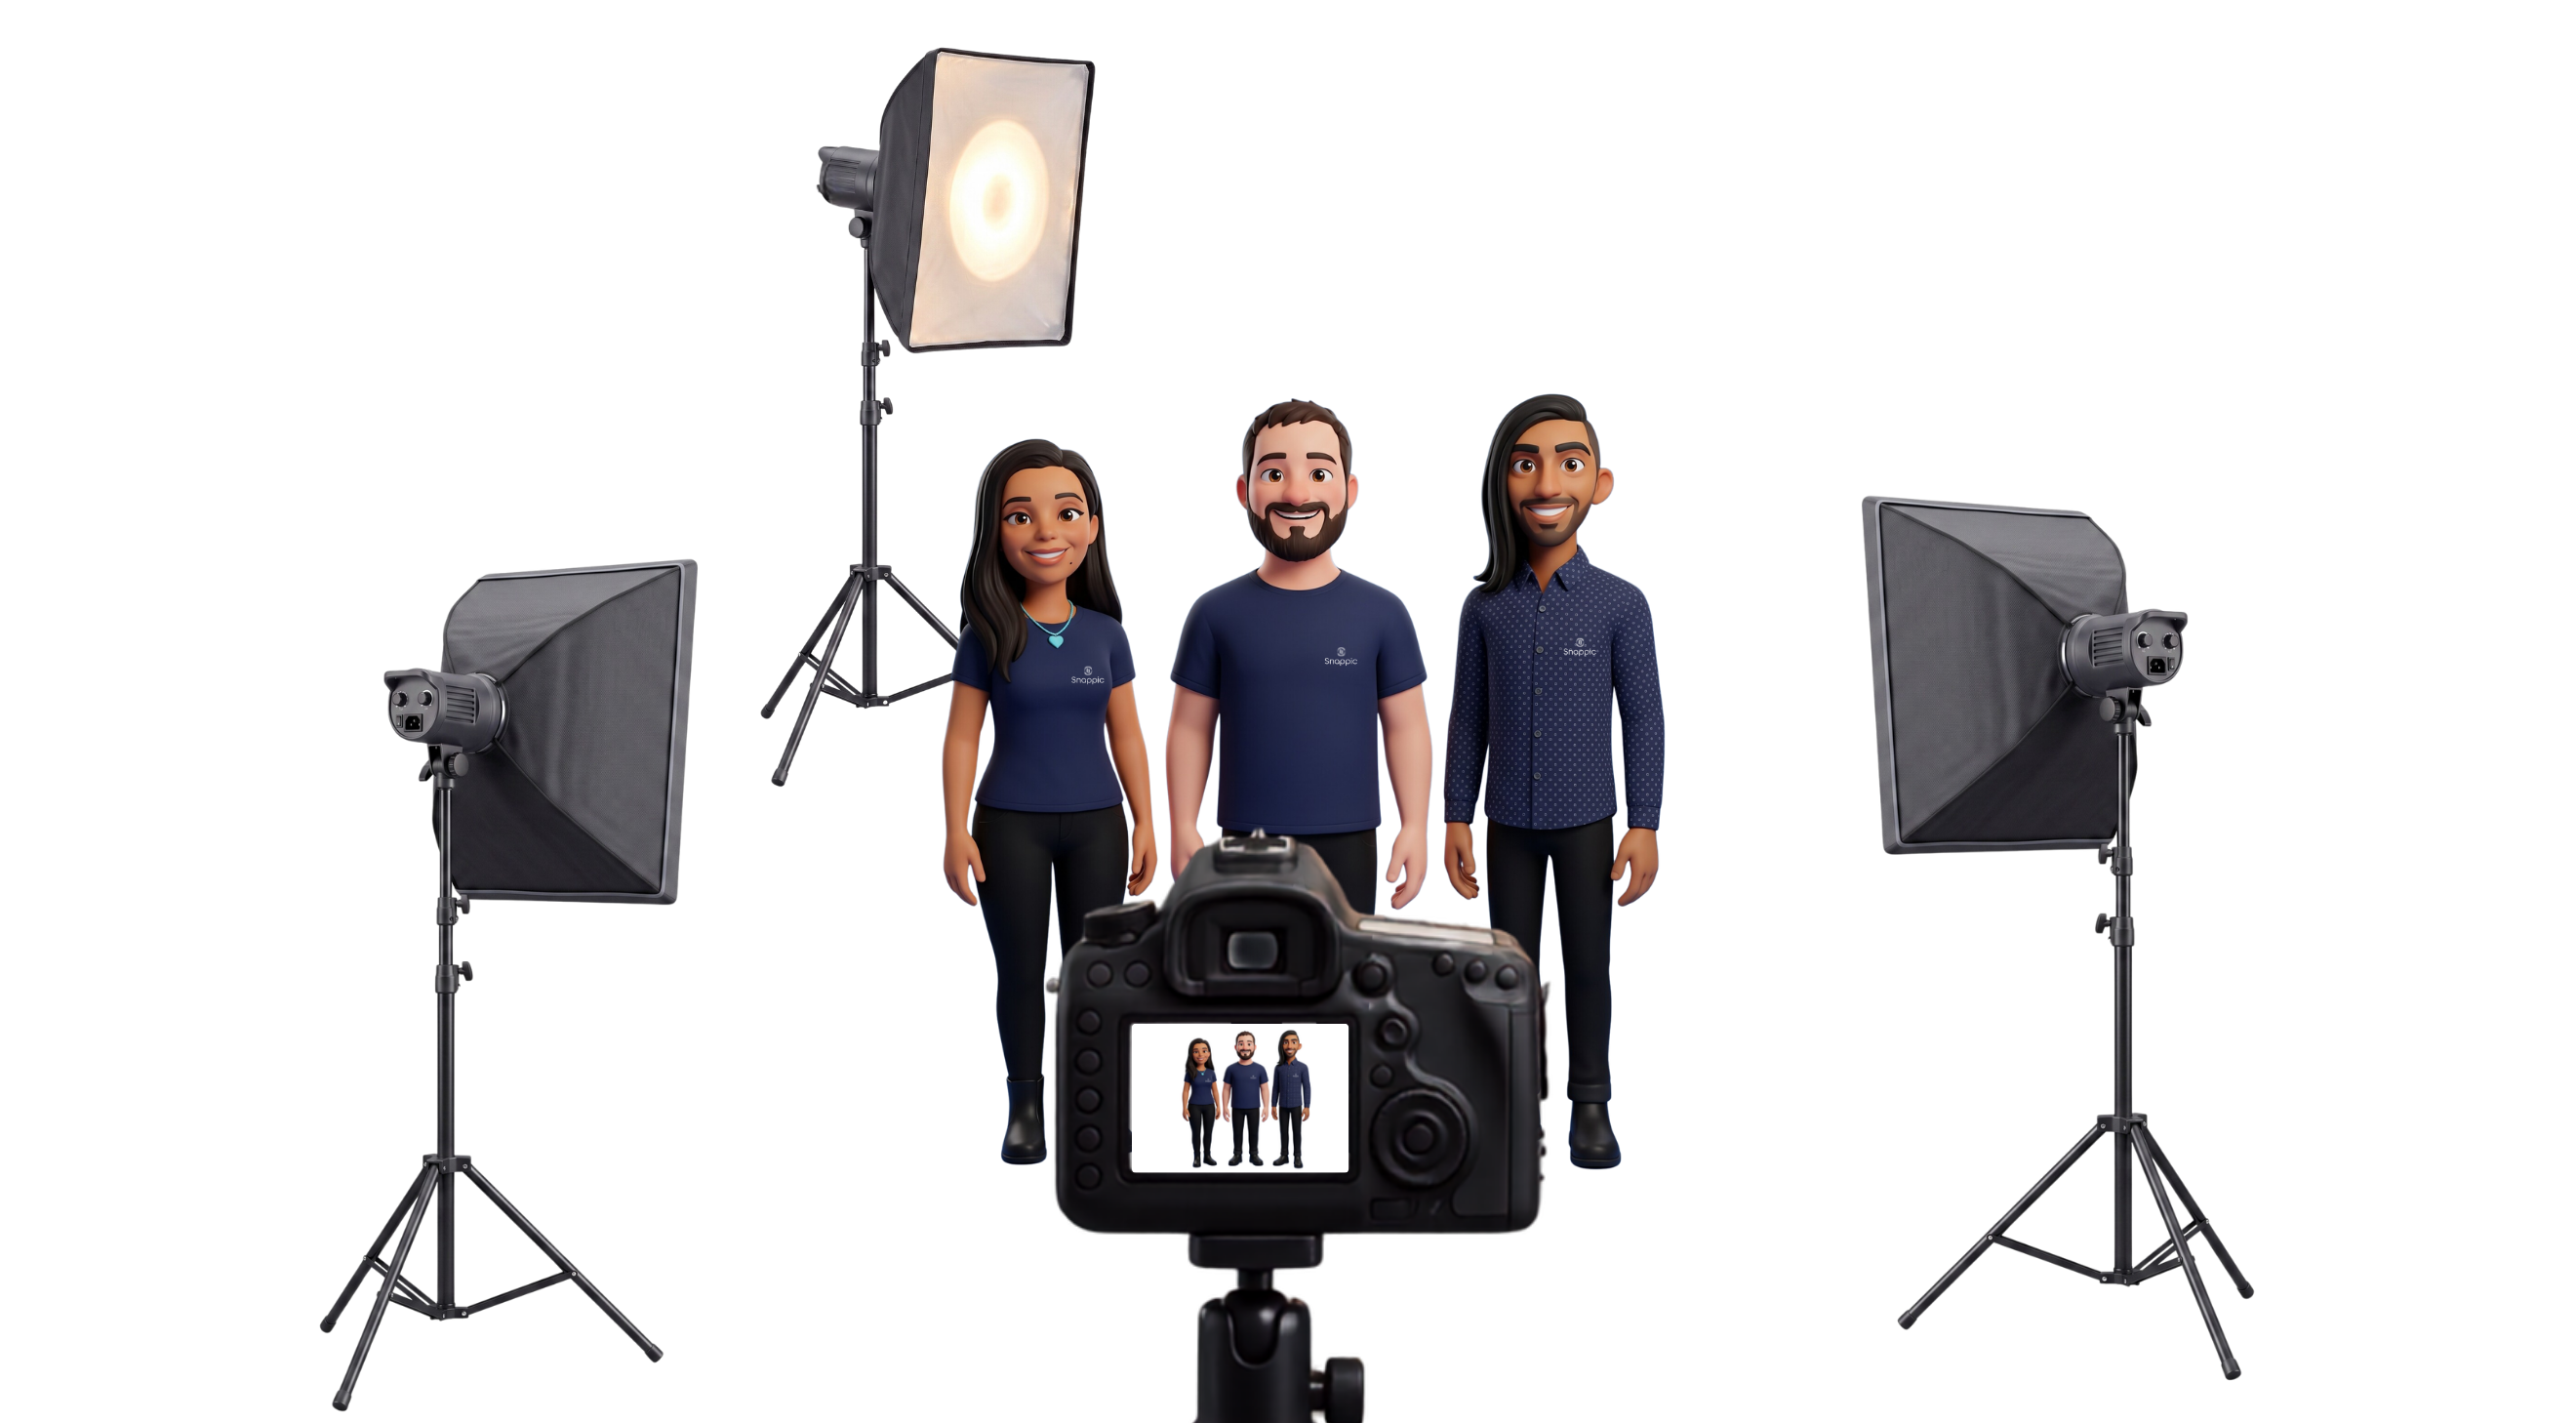
Continuous Lighting
For most operators, continuous lighting is the easiest place to start. Because the lights stay on permanently, what you see on the screen is what you get in the final image. A basic two-light setup positioned at 45-degree angles to your guests will produce clean, flattering results for most events.
Flash Lighting
Flash gives you more power, cleaner images at low ISO, and better consistency in challenging venues. It also introduces more variables: flash power, sync speed, trigger reliability, and positioning all need to work together.
For most booth setups, start at 1/4 to 1/2 power on a monolight at f/8, ISO 100, shutter speed 1/200, and adjust based on test shots. A single on-camera flash is a reasonable starting point, but moving the flash off-camera produces significantly more flattering light.
Choosing the Right Modifier
1. Softboxes are usually the safest option for photo booths. They create soft, flattering light while maintaining control. Recommended for most fixed setups.
2. Umbrellas work well for open-air booths but can spill light into surrounding areas. Less controlled in small spaces.
3. Beauty dishes create a distinctive look with a harder catchlight. Flattering for portrait-style booths, but less forgiving of positioning errors and better suited to experienced operators.
Colour Temperature
Target 5500K for clean, neutral skin tones. If the client brief skews warmer (weddings, golden-hour aesthetic), 4500K adds subtle warmth without looking yellow. Match your white balance setting to whatever you choose.
For specific lighting product recommendations, see Part 1: The Complete Roaming Photography Setup Guide.
Focal Length by Booth Type
The right focal length for an enclosed booth is different to what works for open-air, 360, or roaming.
1. For enclosed booths, a 35mm prime is the sweet spot. It's wide enough to fit a group of 2-4 comfortably with minimal barrel distortion. A 50mm can work in a slightly larger booth but requires more distance between camera and subjects.
2. For open-air setups, the 50mm-85mm range produces more natural portrait compression and flattering background separation. You have room to step back for larger groups.
3. For 360 booths, a 16-24mm range captures the full arc of movement. Expect some distortion at the edges; most clients accept this as part of the 360 format.
4. For roaming photography, a 35mm-50mm range gives you the versatility to handle both candid crowd shots and posed portraits without changing lenses mid-event.
For specific lens recommendations at each price point, see Part 1: The Complete Roaming Photography Setup Guide.
Roaming Photography Best Practices
Roaming demands speed, flexibility, and a different mindset to fixed booth work.
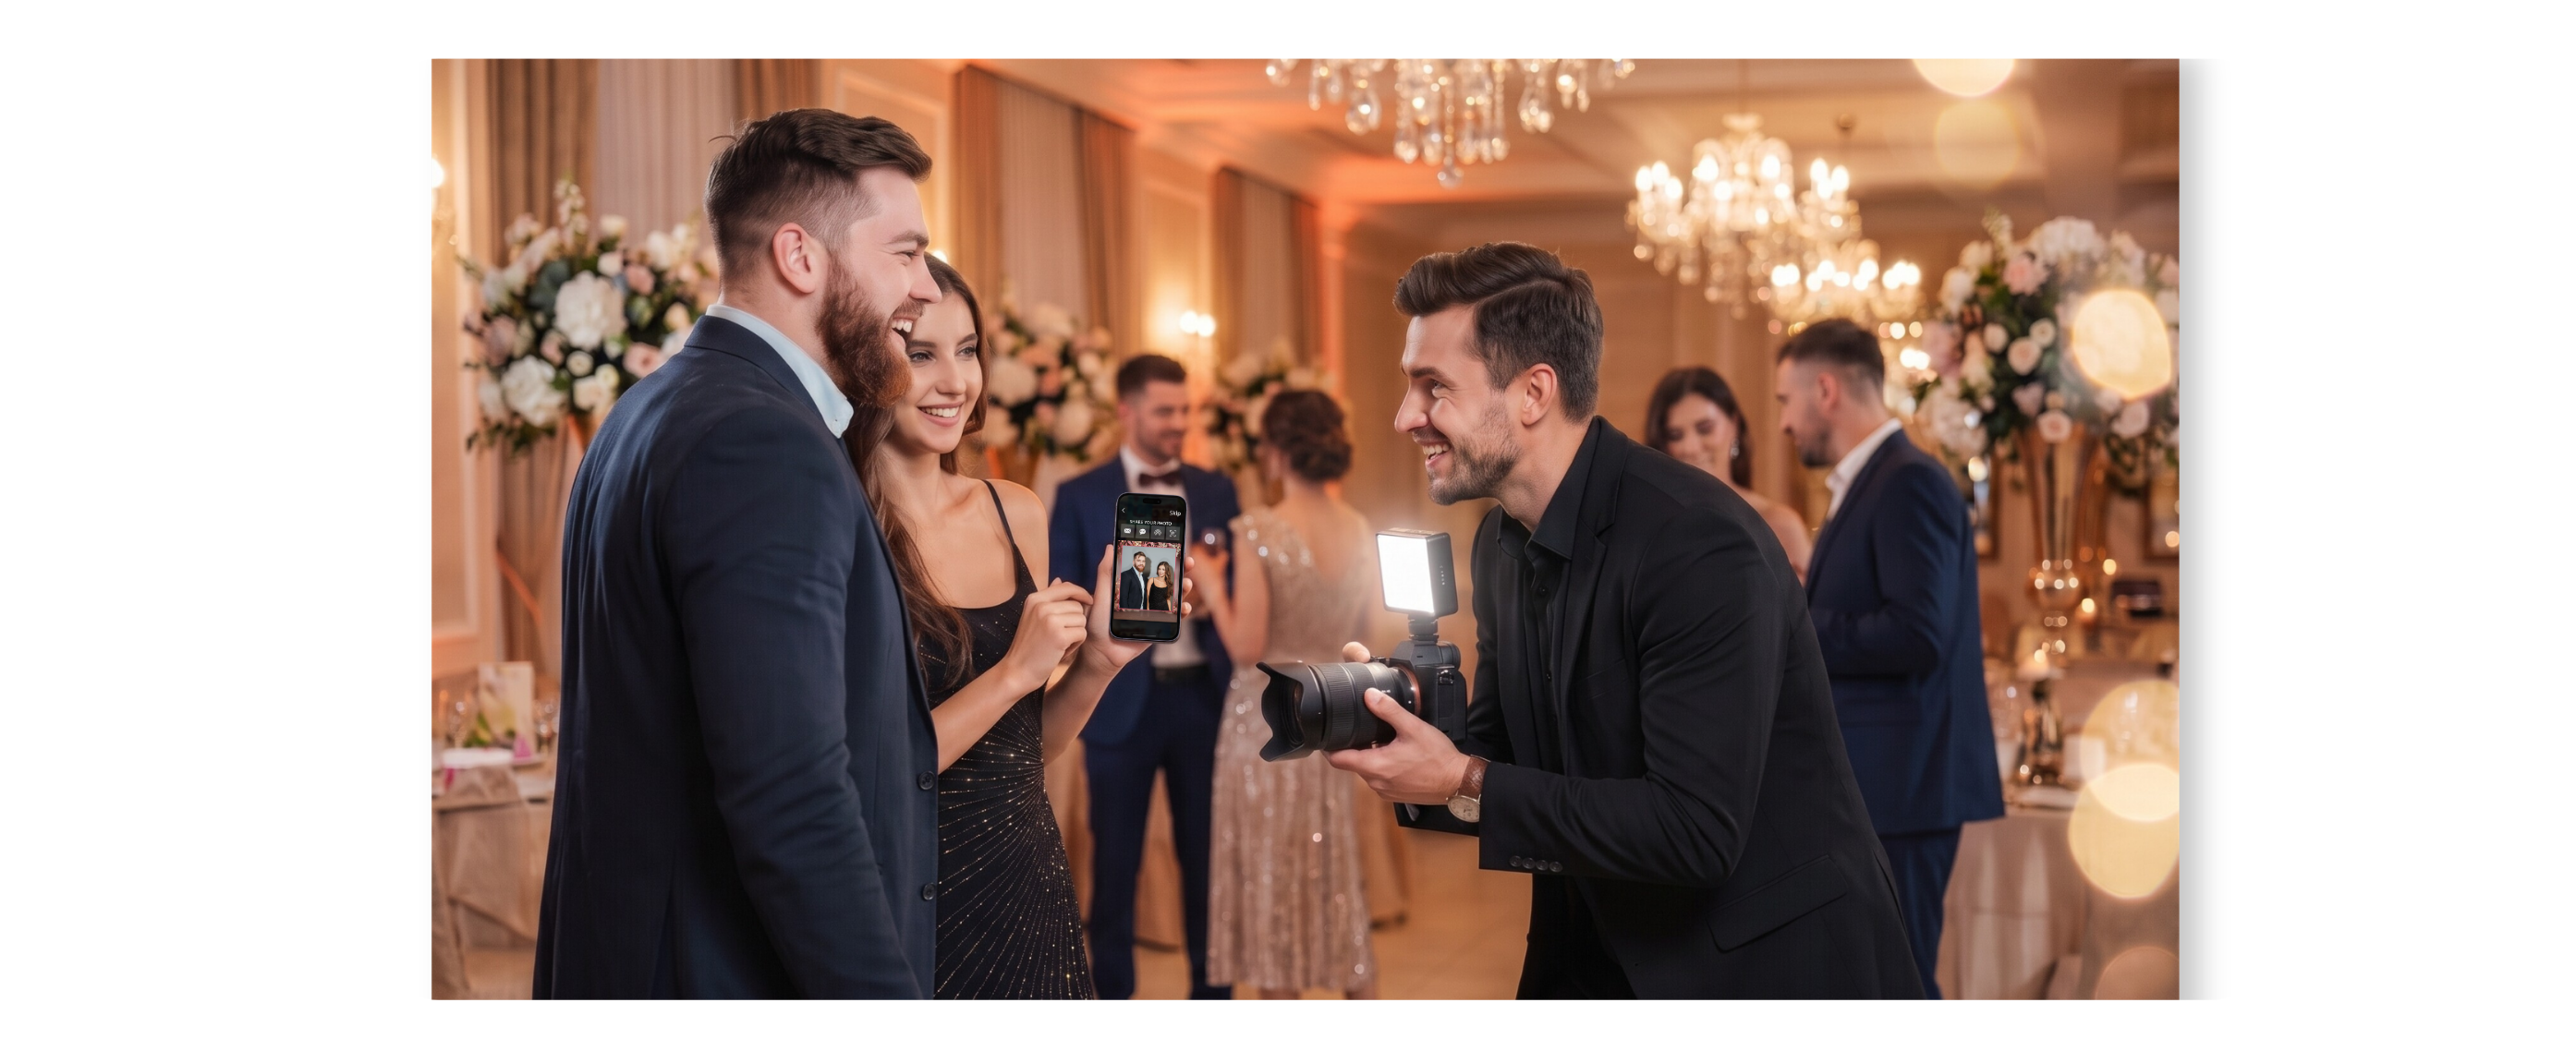
Adding roaming photography to your business opens up new opportunities at weddings, corporate events, conferences, and brand activations. Unlike a fixed booth, roaming means working with whatever the venue gives you.
Keep your shutter speed high. Guests move. A lot. Keeping shutter speed at 1/250 or faster eliminates motion blur and keeps images crisp.
Work with available light where possible. A small portable LED panel provides enough fill to clean up shadows without drawing attention. Avoid using flash for roaming unless the event specifically calls for it; it disrupts the atmosphere and startles guests.
Deliver photos instantly. The real value isn't just capturing the photo. It's getting it into your guest's hands within seconds. With Snappic's Roaming Photography mode, guests review their photos, scan a QR code, and receive their images immediately.
Use continuous capture. With excess media enabled in Roaming mode, you stay on the capture screen and take multiple shots of the same group. Guests then scroll through and pick their favorites before sharing. The result is a gallery where every shared photo is one the guest actually chose.
Common DSLR Problems (And How to Fix Them)
Most issues at live events come from one of three sources: a USB connection problem, a settings conflict, or an SD card issue.
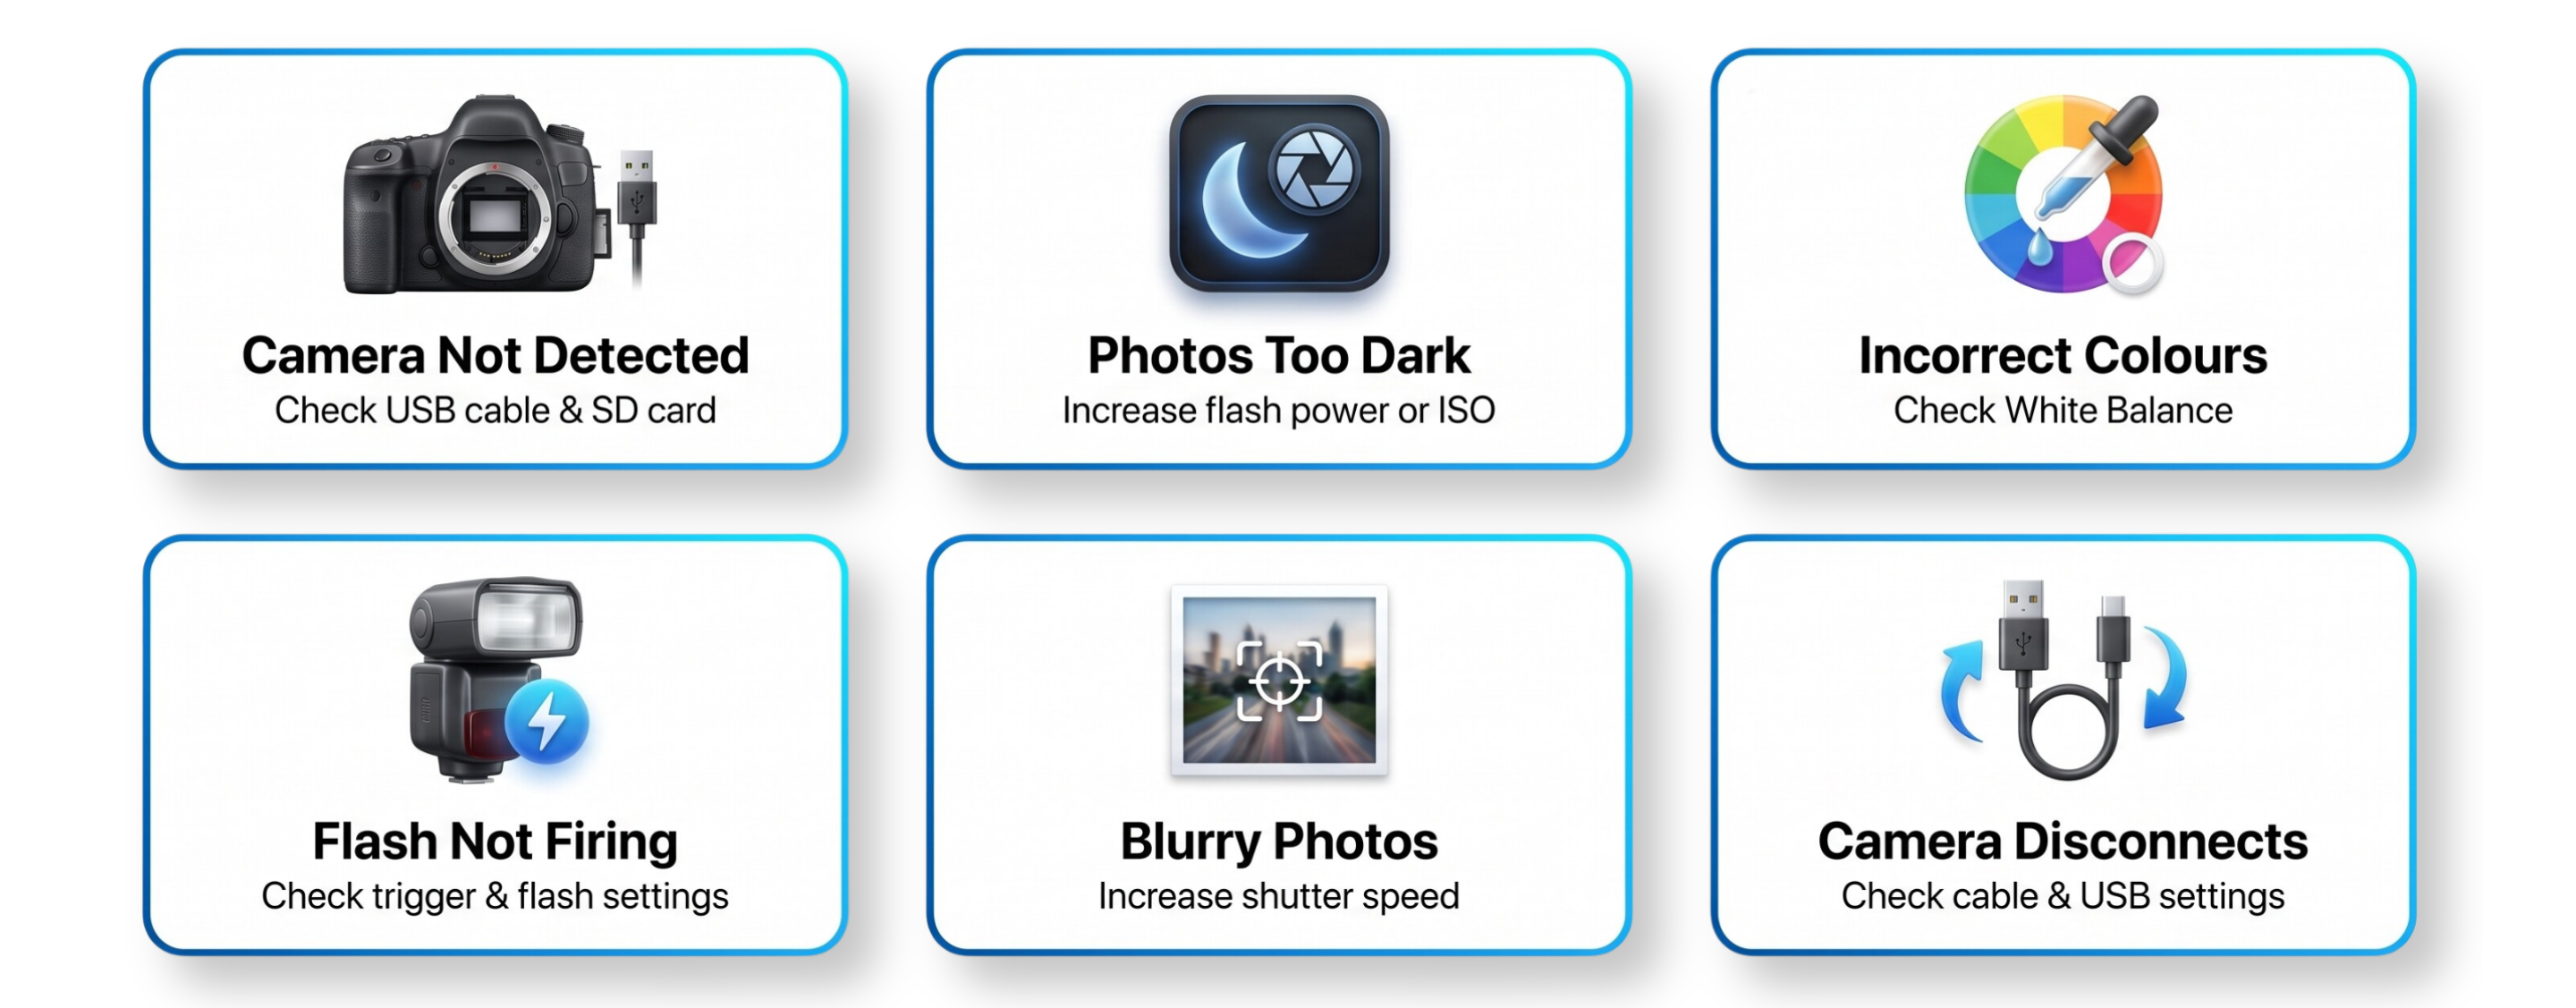
My Camera Isn't Appearing in Snappic
Check the USB cable first. Then check camera permissions on the iOS device (Settings > Snappic > Camera and Files). Make sure an SD card is present, Wi-Fi is disabled on the camera, and you're using a direct connection without a hub. Most connection issues are resolved by replacing the cable or reconnecting.
My Photos Are Too Dark
Increase flash power, ISO, or light output. Or widen the aperture (for example, moving from f/8 to f/5.6). Always adjust one variable at a time so you can identify what made the difference.
There's a Dark Band Across My Photos
Your shutter speed is exceeding the flash sync limit. Bring it to 1/200 or lower. Do not exceed 1/250 under any circumstances when using flash.
My Flash Isn't Firing
Check trigger batteries, sync speed settings, silent shooting settings, and the physical flash connection. Flash issues are almost always configuration-related rather than hardware failures.
My Photos Look Blurry
Check shutter speed first (increase it), then autofocus settings, then whether the subjects were moving. For roaming photography especially, increasing shutter speed is usually the immediate fix. Also check that your lens is clean.
My Colours Look Wrong
Review your white balance settings. Mixed venue lighting (your booth light at one temperature, the venue ambient at another) is the most common cause. Manual white balance matched to your booth light is more reliable than auto in difficult lighting environments.
Camera Disconnects Mid-Event
Disable USB Charging on the camera. On Canon, confirm USB Connection Type is set to 'Photo Import/Remote Control'. On Sony, confirm USB Mode is 'PC Remote'. Check your cable isn't loose or damaged. Carry a spare.
Full DSLR troubleshooting guide - Snappic Help Center
Getting Event-Ready Before You Arrive
The operators who run smooth events aren't necessarily the most experienced. They're the ones who test everything beforehand.
A complete pre-event check takes less than thirty minutes and eliminates most of the problems operators encounter on site:
☑️ Camera connected to Snappic via USB
☑️ Settings saved (check Preview and Capture values)
☑️ Lighting positioned and tested
☑️ Test photo captured
☑️ Test photo shared (verify the full workflow)
☑️ Test print checked (if printing)
☑️ Spare cable, spare battery, formatted SD card packed
Your DSLR, lighting, and software should feel invisible on event day. Guests shouldn't notice the technology. They should simply receive great photos, instantly.
Snappic supports Canon, Nikon, and Sony cameras natively, with in-app settings control, USB tethering, and a full workflow from capture to gallery to print. If you're just getting started or moving an existing setup to Snappic, the free trial gives you full DSLR access from day one.
Start your free trial today | Full DSLR support included | Canon, Nikon & Sony compatible
Related Articles
→ Adjust DSLR Camera Settings in App
→ Alternative Orientation for Still Photo Templates
→ Canon DSLR Setup with Snappic
→ Sony DSLR Setup with Snappic

FREQUENTLY ASKED QUESTIONS:
What are the best DSLR camera settings for event photography?
For most events, use Manual mode, adjust your aperture based on the number of subjects, keep your ISO as low as possible, and choose a shutter speed that suits your lighting setup. The ideal settings will vary depending on whether you're using flash, continuous lighting or roaming photography.
What is the best DSLR camera setting for a photo booth?
A good starting point for a flash-based photo booth is Manual mode, f/8, 1/200 shutter speed, ISO 100 and Flash white balance. These settings produce consistent, sharp images and are ideal for group photos.
Should I use flash or continuous lighting for my photo booth?
Both have advantages. Continuous lighting is easier to set up because what you see is what you get, while flash provides more power, cleaner images and greater consistency in challenging lighting conditions.
Why are my DSLR photos blurry?
Blurry photos are usually caused by slow shutter speeds, incorrect autofocus settings or subject movement. Increasing your shutter speed and enabling face or eye detection can significantly improve image sharpness.
Why won't my DSLR connect to Snappic?
Most connection issues are caused by USB cables, camera settings or missing SD cards. Ensure your camera is in Manual mode, Wi-Fi is disabled, a formatted SD card is inserted and you're using a compatible USB cable.
What cameras are compatible with Snappic?
Snappic supports a wide range of Canon, Nikon and Sony DSLR and mirrorless cameras through USB tethering. Check the latest compatibility list before purchasing new equipment.
What is three-point lighting in photography?
Three-point lighting uses a key light, fill light and back (rim) light to create balanced, professional-looking images. This setup improves depth, reduces harsh shadows and helps subjects stand out from the background.
Can I adjust DSLR camera settings inside Snappic?
Yes. Once your camera is connected, Snappic allows you to adjust settings such as ISO, shutter speed, aperture, white balance and autofocus directly within the app without touching the camera.
What ISO should I use for event photography?
For flash photography, ISO 100–400 is recommended for the cleanest images. For continuous lighting or roaming photography, ISO 400–1600 is often appropriate depending on the venue lighting.
How do I improve my photo booth image quality?
Better lighting, correct camera settings and proper positioning make the biggest difference. A well-lit setup with accurate exposure, autofocus and white balance will produce more professional results than upgrading your camera alone.
More from Melissa
Previous Post
The Complete Event Photography Setup Guide
Set up your DSLR photo booth or roaming photography right. Cameras, lenses, lighting, printers & software, complete event photography setup guide.
Next Post
From Photo Booth to Roaming Photographer
Turn your photo booth business into a roaming photography powerhouse with Snappic. Capture more moments, share instantly and increase event revenue.